Full Circle Fire Hydrants

Circle Fire Hydrants: Step 1

Circle Fire Hydrants: Step 2

Circle Fire Hydrants: Step 3

Circle Fire Hydrants: Step 4

Circle Fire Hydrants: Step 5

To be honest, I don’t know what to call this exercise because I made it up about a year ago and I have been doing it ever since. I took an exercise called ‘The Fire Hydrant’ and basically made it more complicated so I could target all areas of my glutes. I decided to use the name ‘Full Circle Fire Hydrants’ because you follow a circle pattern with your leg during the exercise. It may look easy, but if done correctly, your glutes will be on fire.

To Perform FULL CIRCLE FIRE HYDRANTS:
1. Start with your hands and knees both on the floor. Create a table top with your back and keep your hands and knees both shoulder width apart. (Picture 1)
2. With your left knee and both hands on the ground, lift your right knee and pull it into your chest. Crunch your torso toward the knee and contract your core. (Picture 2)
3. Now rotate your hip to raise the knee to your right side. Your knee should still be bend and your leg should be parallel to the ground. (Picture 3)
4. Extend and straighten your right leg keeping it parallel to the floor. (Picture 4)
5. Slowly move your leg toward the back. Your leg should be behind you now. (Picture 5)
6. Bend the right leg and return your right knee to your chest. Crunch your body toward your knee and contract your core. (Picture 2)
7. Repeat steps 3-7 for the allotted amount of reps (I usually do 10), and then repeat on the other side.

TIPS:
1. This exercise is all about form. Do not compromise form!
2. Hold each position of the leg for one second before moving onto the next step. Each movement should be nice and controlled.
3. Keep your shoulders square. It is ok to bend your elbows during this exercise if you need more stabilization, but do not twist your shoulders.
4. When I bring my knee to my chest (Step 2), I like to crunch toward my knee. Tighten your core and breathe out while your knee is in this position to give you abs a nice squeeze.
5. When extending your knee to the side (Step 4), keep your leg turned in. Some people may want to twist their leg so their knee faces the ceiling, but your knee should be facing forward.
6. After bringing your leg behind you (Step 5), it is good if you can raise your leg past parallel. Raise your leg as high as you can without bending your knee. You should feel a nice squeeze in your glutes.

Do you think you may try this exercise next time you are at the gym? If you do, let me know what you think of it. Do you have any questions, comments, or any ideas for other topics? Contact me at corestrengthalec@gmail.com

One Arm Medicine Ball Pushups

One Arm Med Ball Pushup: Step 1

One Arm Med Ball Pushup: Step 2

One Arm Med Ball Pushup: Step 3

One Arm Med Ball Pushup: Step 4

Do you want a new chest exercise that will really stretch and activate your pecs? This exercise activates all areas of your chest, works on your stabilization skills, and also gives your pecs a nice pull allowing your muscles to lengthen and grow.

To perform a One Arm Medicine Ball Pushups:
1. Start in a Pushup Plank Position with one hand on the floor and one hand on top of a medicine ball.
2. Lower into a pushup keeping one hand on the medicine ball.
3. Return to the Pushup Plank Position.
4. Roll the ball to the opposite hand and repeat the exercise.
5. Continue rolling the ball from one hand to the other with a pushup in between. I like to do 10 reps (20 pushups, 10 on the right, 10 on the left).

TIPS:
1. Activate your core in order to stabilize your body. When lowering into the push position, you should not tip to one side or droop your body to the floor.
2. Your chest should be parallel to the floor. If you tilt your shoulders, your chest will no longer be parallel and you will not be using the correct muscles during the exercise. (In the second picture, my shoulders are a little lopsided. Try to avoid this positioning and aim for a more parallel look like the positioning I achieved in the third picture. Form is important for this and every exercise).
3. Your feet can be wide, shoulder width apart, or together. The closer your feet are, the more your core will need to activate to stabilize your body.
4. I like to alternate sides during the exercise, rolling the ball to the opposing hand between each pushup. Other people may recommend doing all 10 pushups on one side, and then switching to the other hand to do the other 10. Either way works well, I just find continuously alternating makes the exercise more challenging because you are constantly shifting your weight and positioning.

Do you enjoy this workout? Do you have any other chest workouts that may be helpful? Contact me at corestrengthalec@gmail.com with any questions, comments, or ideas for other blog topics.

Coconut Turkey Bacon

It may sound weird to some of you, but I promise that it is delicious. If you like Coconut and you like Turkey Bacon, then you will LOVE this recipe. I will admit right now, it is not the healthiest snack you can have, but can make for a nice treat once when you are really craving something both sweet and savory.

Coconut Turkey Bacon

Ingredients:
8 Turkey Bacon Strips
3 oz. of Shredded Coconut
2 tbsp. of Coconut Oil
1 egg

Directions:
1. Crack 1 egg in a bowl and stir with a whisk or fork.
2. Place the shredded coconut on a large plate and spread it out evenly.
3. Oil a frying pan using 2 tbsp. of coconut oil and put the frying pan on the stove top at low-medium heat.
4. Coat one strip of turkey bacon at a time with the egg that was mixed in the bowl. This can easily be done by dipping the entire turkey bacon strip in the bowl.
5. Place the coated turkey bacon strip on the plate with the shredded coconut. Coat the strip on both sides with shredded coconut.
6. Place the turkey bacon strip on the frying pan and let it sit for about 1 minute. After one minute, flip the turkey bacon strip and cook for an additional minute. The reason we do not fry the bacon for too long is because the coconut will easily blacken if cooked too long. We want the coconut to be golden brown.
7. Remove the strip from the frying pan and place it on a plate that is covered by a paper towel.
8. Continue the process from step 4-7 for the other 7 pieces of turkey bacon. Once you have finished cooking all of the pieces, you should have 8 coconut coated, turkey bacon strips on one plate.
9. Place a paper towel over the turkey bacon and put the plate in the microwave. Cook on high for 2-3 minutes or until the turkey bacon has a consistency you like.
10. Let the plate cool and ENJOY!

Do you like this recipe? Do you have any recipes you would like to share? Email me at corestrengthalec@gmail.com with any questions, comments, or ideas for new topics.

Rolling Pistol Squats

Rolling Pistol Squat: Step 1

Rolling Pistol Squat: Step 2

Rolling Pistol Squat: Step 3

Rolling Pistol Squat: Step 4

Rolling Pistol Squat: Step 5

One of the benchmark exercises to do in any CrossFit gym is a Pistol Squat. Pistol Squats involve only using one leg to squat down and push back up to the standing position. This exercise is very difficult and requires a lot of practice and strength to complete. Rolling Pistol Squats are an easier variation of the standard Pistol Squat because they allow you to use momentum to your advantage. Rolling Pistol Squats are also a great cardio and full body workout.

To Perform a Rolling Pistol Squat:
1. Start in the standing position with both feet on the floor.
2. Squat down with your glutes as close to the floor as possible and create a comfortable curve in your back to prepare to roll backward.
3. Roll backward onto your back and raise your legs in the air.
4. Using the momentum of throwing your legs forward, place one foot on the ground as close to your glutes as possible with the other leg straight out in front of you and stand up.
5. Once standing, put the leg that is straight out in front of you back down to return to the standing position.
6. Repeat the exercise from Step 2 and alternate legs with each rep.

TIPS:
1. When I roll backward, I like to keep my legs straight and bring my legs as close to my chest as I can. I give them a light pull with my hands and this allows me to give my hamstrings a stretch.
2. The closer you can place your foot to you glutes when you role forward, the easier it will be to stand up.
3. Momentum is key! Quickly bring your legs forward to make the push up from the floor easier.
4. For anyone with a knee or hip injury, any variation of a pistol squat is not recommended. Never do a workout that causes you pain. Listen to your body!
5. Rolling Pistol Squats are great to help tone your legs, but they also wok your core and provide a good cardio workout as well. I like to use Rolling Pistol Squats in between other exercises to keep my heart rate up. I usually do about 16 reps per set (8 on each leg), and about 3-5 sets during my workout.

Have you ever tried Rolling Pistol Squats? Do you plan on adding these to your workout routine? I really appreciate any feedback. Contact me at corestrengthalec@gmail.com.

BOSU Burpees

Back to BURPEES! I promised that I would show you other versions of Burpees and the one I am about to show you is one of my favorites. For this variation, you will need to use a BOSU ball. These BOSU Burpees intensify your workout by adding stability and resistance components to your burpee.

To do a BOSU Burpee:
1. Start in a standing position holding the BOSU Ball handles with the ball facing away from your body.
2. Squat down and place the BOSU ball on the ground. (The flat side should be facing up and the ball side should be on the floor)
3. Jump your feet back to put yourself in a plank position while still holding the BOSU ball handles.
3a. Optional Pushup
4. Jump your feet forward to return to the squat position.
5. Raise the BOSU ball above your head.
6. Jump up. While jumping, press the BOSU ball up toward the ceiling.
7. Repeat from Step #1.

Tips:
1. If you are not familiar with Burpees, or forget some of the tips I have given to get the most out of these exercises, check out my ‘How to do a Burpee’ Post before trying this more difficult variation of the exercise. It is important to understand the body mechanics of the basic exercise before trying more difficult variations in order to prevent injury.
2. Remember, when squatting down, try and get your glutes low to the floor.
3. Activate your core while in the plank position. The BOSU Ball will add an additional stability aspect to the exercise which will require more core strength and activation than the Basic Burpee.
4. When jumping during this exercise, you also press the BOSU Ball up toward the ceiling. Adding the BOSU ball will not only add weight to your jump making the jump more difficult, but it will also help tone your shoulders while pressing the BOSU Ball up.

Bosu Burpee: Step 1

Bosu Burpee: Step 1

Bosu Burpee: Step 2

Bosu Burpee: Step 2

Bosu Burpee: Step 3

Bosu Burpee: Step 3

Bosu Burpee: Step 3a (optional pushup)

Bosu Burpee: Step 3a

Bosu Burpee: Step 3a (finish optional pushup)

Bosu Burpee: Step 3a

Bosu Burpee: Step 4

Bosu Burpee: Step 4

Bosu Burpee: Step 5

Bosu Burpee: Step 5

Bosu Burpee: Step 6

Bosu Burpee: Step 6


Do you any variations of Burpees that you like to include in your workout routine? Contact me at corestrengthalec@gmail.com for any questions, comments, or ideas for new topics.

How to do a Burpee!

BURPEES! You love them and you hate them.
Burpees are an amazing cardio workout and work many of your major muscle groups. Burpees are one of the best full body workouts you can do in your exercise routine, however it is also easy to do a burpee incorrectly, making the exercise not as effective.

To do a Basic Burpee:
1. Start in a standing position
2. Squat down and place your hands on the ground.
3. Jump your feet back to put yourself in a plank position.
4. Jump your feet forward to return to the squat position.
5. Jump up straight off the floor from the squat position.
6. Repeat from Step #1

There are many variations of Burpees. The most common variation is the Burpee Pushup where one pushup is done while in the plank position. (Between steps #3 and #4 of the Basic Burpee instructions, do a pushup).

Tips:
1. When squatting down, try and get your glutes low to the floor. This will make the exercise seem harder, but that is because you are activating most of the muscles in your legs from your quads, to your glutes and hamstrings. This muscle activation will help tone your legs more effectively.
2. While in the plank position, make sure to keep your body completely flat and activate your core. It is very easy to raise you hips and glutes up toward the ceiling.
3. When jumping during this exercise, and in any other exercise, land with bent knees. If you jump and land with your legs completely straight, you will put too much pressure on your knees and lead to injuries in the future.
4. Burpees can be done as a FT workout (For Time) or AMRAP workout (As Many Reps As Possible). If you do a FT workout, give yourself a certain number of burpees to do and see how much time it takes you to complete the workout. If you choose to do an AMRAP workout, give yourself an amount of time, usually a minute or two, and see how many burpees you can do in the time allotted.

Burpee: Step 3

Burpee: Step 3

Burpee: Step 2

Burpee: Step 2

Burpee: Step 1

Burpee: Step 1

Burpee: Step 5

Burpee: Step 5

Burpee: Step 4

Burpee: Step 4

Burpee: Step 3a (optional pushup)

Burpee: Step 3a (optional pushup)

Burpee: Step 6

Burpee: Step 6

Do you include Burpees into your workout? Do you have any variations that you would like to share? Contact me at corestrengthalec@gmail.com for any questions, comments, or ideas for new topics.

How to get the most out of your Calf Raises!

Calves2
Calf Raises can be done many ways; however, there are a few tips to understand and follow in order to get the most out of the exercise.

  • First of all DO NOT BOUNCE! When you bounce or do quick calf raises, the work is being done by your Achilles tendon, not your calf muscles. You may feel a burn in your calf muscle, but it is not being targeted well enough to see results.
  • Doing a slow controlled movement from a rest (standing) position to the balls of your feet will activate all of the muscles in your calves.
  • If calf raises are done with straight legs, all of the parts of the calf will be working, but most of the work will be done by the very visible, large muscle on the outer part of the calf (Gastrocnemius). This will promote thickness and definition of your calf. If calf raises are done with bent knees, the smaller muscle behind the Gastrocnemius (Soleus) will be doing most of the work. Now although the Soleus muscle is not as visible as the Gastrocnemius, because it is behind the larger muscle, it will cause the Gastrocnemius to swell and visibly pop out more. Both are beneficial so I like to alternate between bent and straight legs between sets.
  • Calf raises can be very effective with no weight; however if you are doing weighted calf raises, the same principle applies. Use slow controlled motions rather than a bouncing movement.
  • Another possible way to change up the exercise is doing calf raises on a ledge where your heels hang over the edge. When lowering, go past parallel with the floor and stretch your calf muscles more. This will give you a wider range of motion for the muscle; therefore working the muscle in a different, harder way.

The gym I currently go to has a Power Plate. I like to start off my calf routine with 3 sets of slow calf raises on the Power Plate, and then I do 4 sets of weighted calf raises on one of the calf machines. Do what works best for you, but make sure to follow these tips.

I hope you found this article helpful. If you have any questions, concerns, or ideas for other articles, please email me at corestrengthalec@gmail.com

Is Shoveling Snow a Good Exercise?

shoveling-snow2
Because Winter is now upon us, and we are definitely starting to see some heavy snowfall, I wanted to see if shoveling snow was a good way to get some exercise. I personally always dreaded going outside and clearing the driveway of snow, but after doing some research, I realized that it definitely has its benefits. According to an article done by Julie Garden-Robinson, Ph.D., L.R.D, at North Dakota State University, a person of 170lbs can shovel for 30 minutes and burn about 250 calories. (Click Here to See the Article) Because shoveling involves high repetitions of lifting a weighted object, it also can help tone your muscles in your arms, legs, and core if done correctly. Not too bad for a chore I hate doing.

shoveling-snow

It is important to also understand the dangers of shoveling before you go out and start throwing the snow around. A quote from masslive.com stated,

“According to a study published in the American Journal of Emergency Medicine, some 195,100 Americans were treated in emergency rooms for snow shoveling-related mishaps from 1990 to 2006. Among those cases, 7 percent were cardiac related, which made up all of the 1,647 deaths in the study.”

Click Here to see the Article on Masslive.com

Here are some tips to keep in mind:

  • Because shoveling can involve some heavy lifting at times, it also puts some people at risk of heart attacks. If you already have high blood pressure or are at risk of a heart attack, consult your doctor before you decide to go outside and shovel snow.
  • Make sure to always lift with your legs and tighten your core when lifting the snow.
  • Avoid twisting and lifting from your lower back to avoid lower back injuries which are common when shoveling.

So next time you go out to battle the cold and shovel, try to think of how it actually can help you reach our fitness goals. As long as you stay smart and safe by following the tips I shared, shoveling will can be more than just a chore, but a productive workout.

How did you like this post? Did you find it useful? Do you have any other ideas for future posts I should do? If you have any questions, comments, or concerns, feel free to contact me at corestrengthalec@gmail.com.

Feature Friday: Eric Turner

Eric 1
First name: Eric
Last name: Turner
City: Houston
State: Texas (Originally from Herriman, UT)
Age: 32
Height: 6’1″
Weight: 208
Profession: Personal Trainer

Follow Him:
Twitter: @erictastic
Instagram: erictastic

When did you start working out?:
When I was 21.

Eric 2

How many days a week do you work out?:
I do weights 5 days a week and I do cardio 6 days a week.

How long is your average workout?:
Usually 90 min

Favorite muscles to exercise:
Legs

Least favorite muscles to exercise:
Legs. lol

Eric 3

Do you have any fitness goals? If so, what are they?:
I’m constantly trying to better myself and my symmetry, and I’m currently competing for my IFBB Pro Card.

Do you have any fitness inspirations? If so, who are they?:
Jaco De Bruyn

What supplements do you take or recommend?:
I think people misunderstand what supplements are for. They are intended to supplement any areas that your diet is lacking. I tend to only take supplements when I’m dieting down so that I still get the nutients that I’m lacking.

Eric 4

Can you give a brief overview of your diet?:
It’s constantly changing, so that I won’t plateau. It generally consists of around 45-50% of kilocalories from carbs, 30-35% of kcal from proteins, and 15-20% of kcal from fats.

Do you have any workouts that you specifically like, that you believe are very affective?:
You can’t have a good physique if you focus too much on one thing. Variety is the spice of life when it comes to me working out. I have lately been obsessed with lateral raise drop sets though.

Do you have any tips for people who are trying to reach their fitness goals?:
Keep with it. Consistency is the magic ingredient!

Do you have any other things you would like to say?(Comments, suggestions, etc)?:
I get a lot of questions from people who have all sorts of strange ideas of things they’ve heard… I think the biggest misnomer that people have is that low carb is always the way to go. If you’re looking to build muscle, you can’t pack on muscle without eating carbs, and cutting them out actually makes gaining muscle pretty difficult.

Feature Friday: Sandy Vo

Sandy Vo 1

First name: Sandy
Last name: Vo
City: Albany
State: New York
Age: 21
Height: 5’2″
Weight: 128lbs
Profession: Communication major, Business minor. Founder of Peer Academic Review Board for the school. Director of Communications for American Marketing Association. Proud intern at this awesome music company called Tunigo. If you’re a music lover, this will be your best friend for life.

Follow Her:
Twitter: @Msfitique
Instagram: Msfitique
Blog: http://www.msfitique.com

When did you start working out?:
I started this new healthy lifestyle, working out and eating clean consistently late March last year. I didn’t start lifting until July though! I’ve seen tremendous changes ever since I started lifting. To think that I used to be the one who was scared of weights because it would make me bulky is too funny to even think about it. Start lifting ladies 😉

Sandy Vo 2

How many days a week do you work out?:
I work out 6 days a week and make sure to have one rest day for my body to recuperate. Some weeks I have ultra energy and find it hard to have a rest day. That’s what this lifestyle does to you though. It makes you feel so good, mentally and physically, that you start absolutely loving it. Being an ex-college party girl who was almost always hung over, working out and eating clean was non- existent in my life. When I started, I did it because I felt like I absolutely had to in order to get healthy. Now, I do it as a hobby more than anything. It’s incredible how much my mental state has changed since then too. It’s so worth ditching parties, cheesy pizza and liver killing alcohol for =).

How long is your average workout?:
My average workout is 1 hour. When I first started and had no clue what to do in the gym, I’d hog the elliptical for almost 2 hours and got super skinny, and fragile looking as a result. Now, lifting and having knowledge about the right kind of training, it only takes 1 hour of my life a day to get fit. There are no excuses there.

Favorite muscles to exercise:
I love working out my glutes because I have some pretty fun exercises for that, and I love seeing the changes week to week. I also love working my legs overall, and shoulders.

Sandy Vo 3

Least favorite muscles to exercise:
If I had to pick, I’d say chest because I’m not a huge fan of bench presses.

Do you have any fitness goals? If so, what are they?:
Yes! I’m actually competing for my very first show June 29th in Boston with the WBFF. After losing 30 pounds since I started this journey less than a year ago, it’s been rough to get my physique to where I wanted it. I was looking fragile and I wanted to be fit. So I started slowly upping my calories to gain weight but I did it the wrong way and I gained back all the weight. I couldn’t have asked for a better way to learn. I started prepping in January actually because I wanted to do this the healthiest way possible by giving myself time. So far I’ve learned that slow progress is the best kind of progress and real results take time. Patience is everything! I gained back all the weight because I was frustrated with not seeing the kind of results that I did. In January 23, I was 140. Now March 29, I am 128. Competing for me, has nothing to do about winning a trophy. That will be my cherry on top. It’s more about testing how strong your mind really is. Training for a show isn’t easy but it will be worth it in the end.

Do you have any fitness inspirations? If so, who are they?:
– Amanda Latona, super hot body with a kick ass personality.
– Justine Munro
– Andrea Brazier is also another gorgeous, hard body inspiration.

What supplements do you take or recommend?:
I only take multi vitamins, fish oil, vitamin d, iron (because I’m low on iron) and that’s it! I don’t believe in using fat burners and unnecessary supplements that may harm my body. All the nutrients that we need is in our food! Supplements are just that, they supplement our diet, not replace it.

Sandy Vo 4

Can you give a brief overview of your diet?:
Meal 1- 4 egg whites, 1 egg. 1/2 c oats
Meal 2- 1/2 c cottage cheese, blueberries
Meal 3- 3 oz chicken with small salad and 1/4 c brown rice
Meal 4- 3 oz chicken with small salad
Meal 5 -3 oz tilapia with veggies and sweet potato
Meal 6 – Protein shake
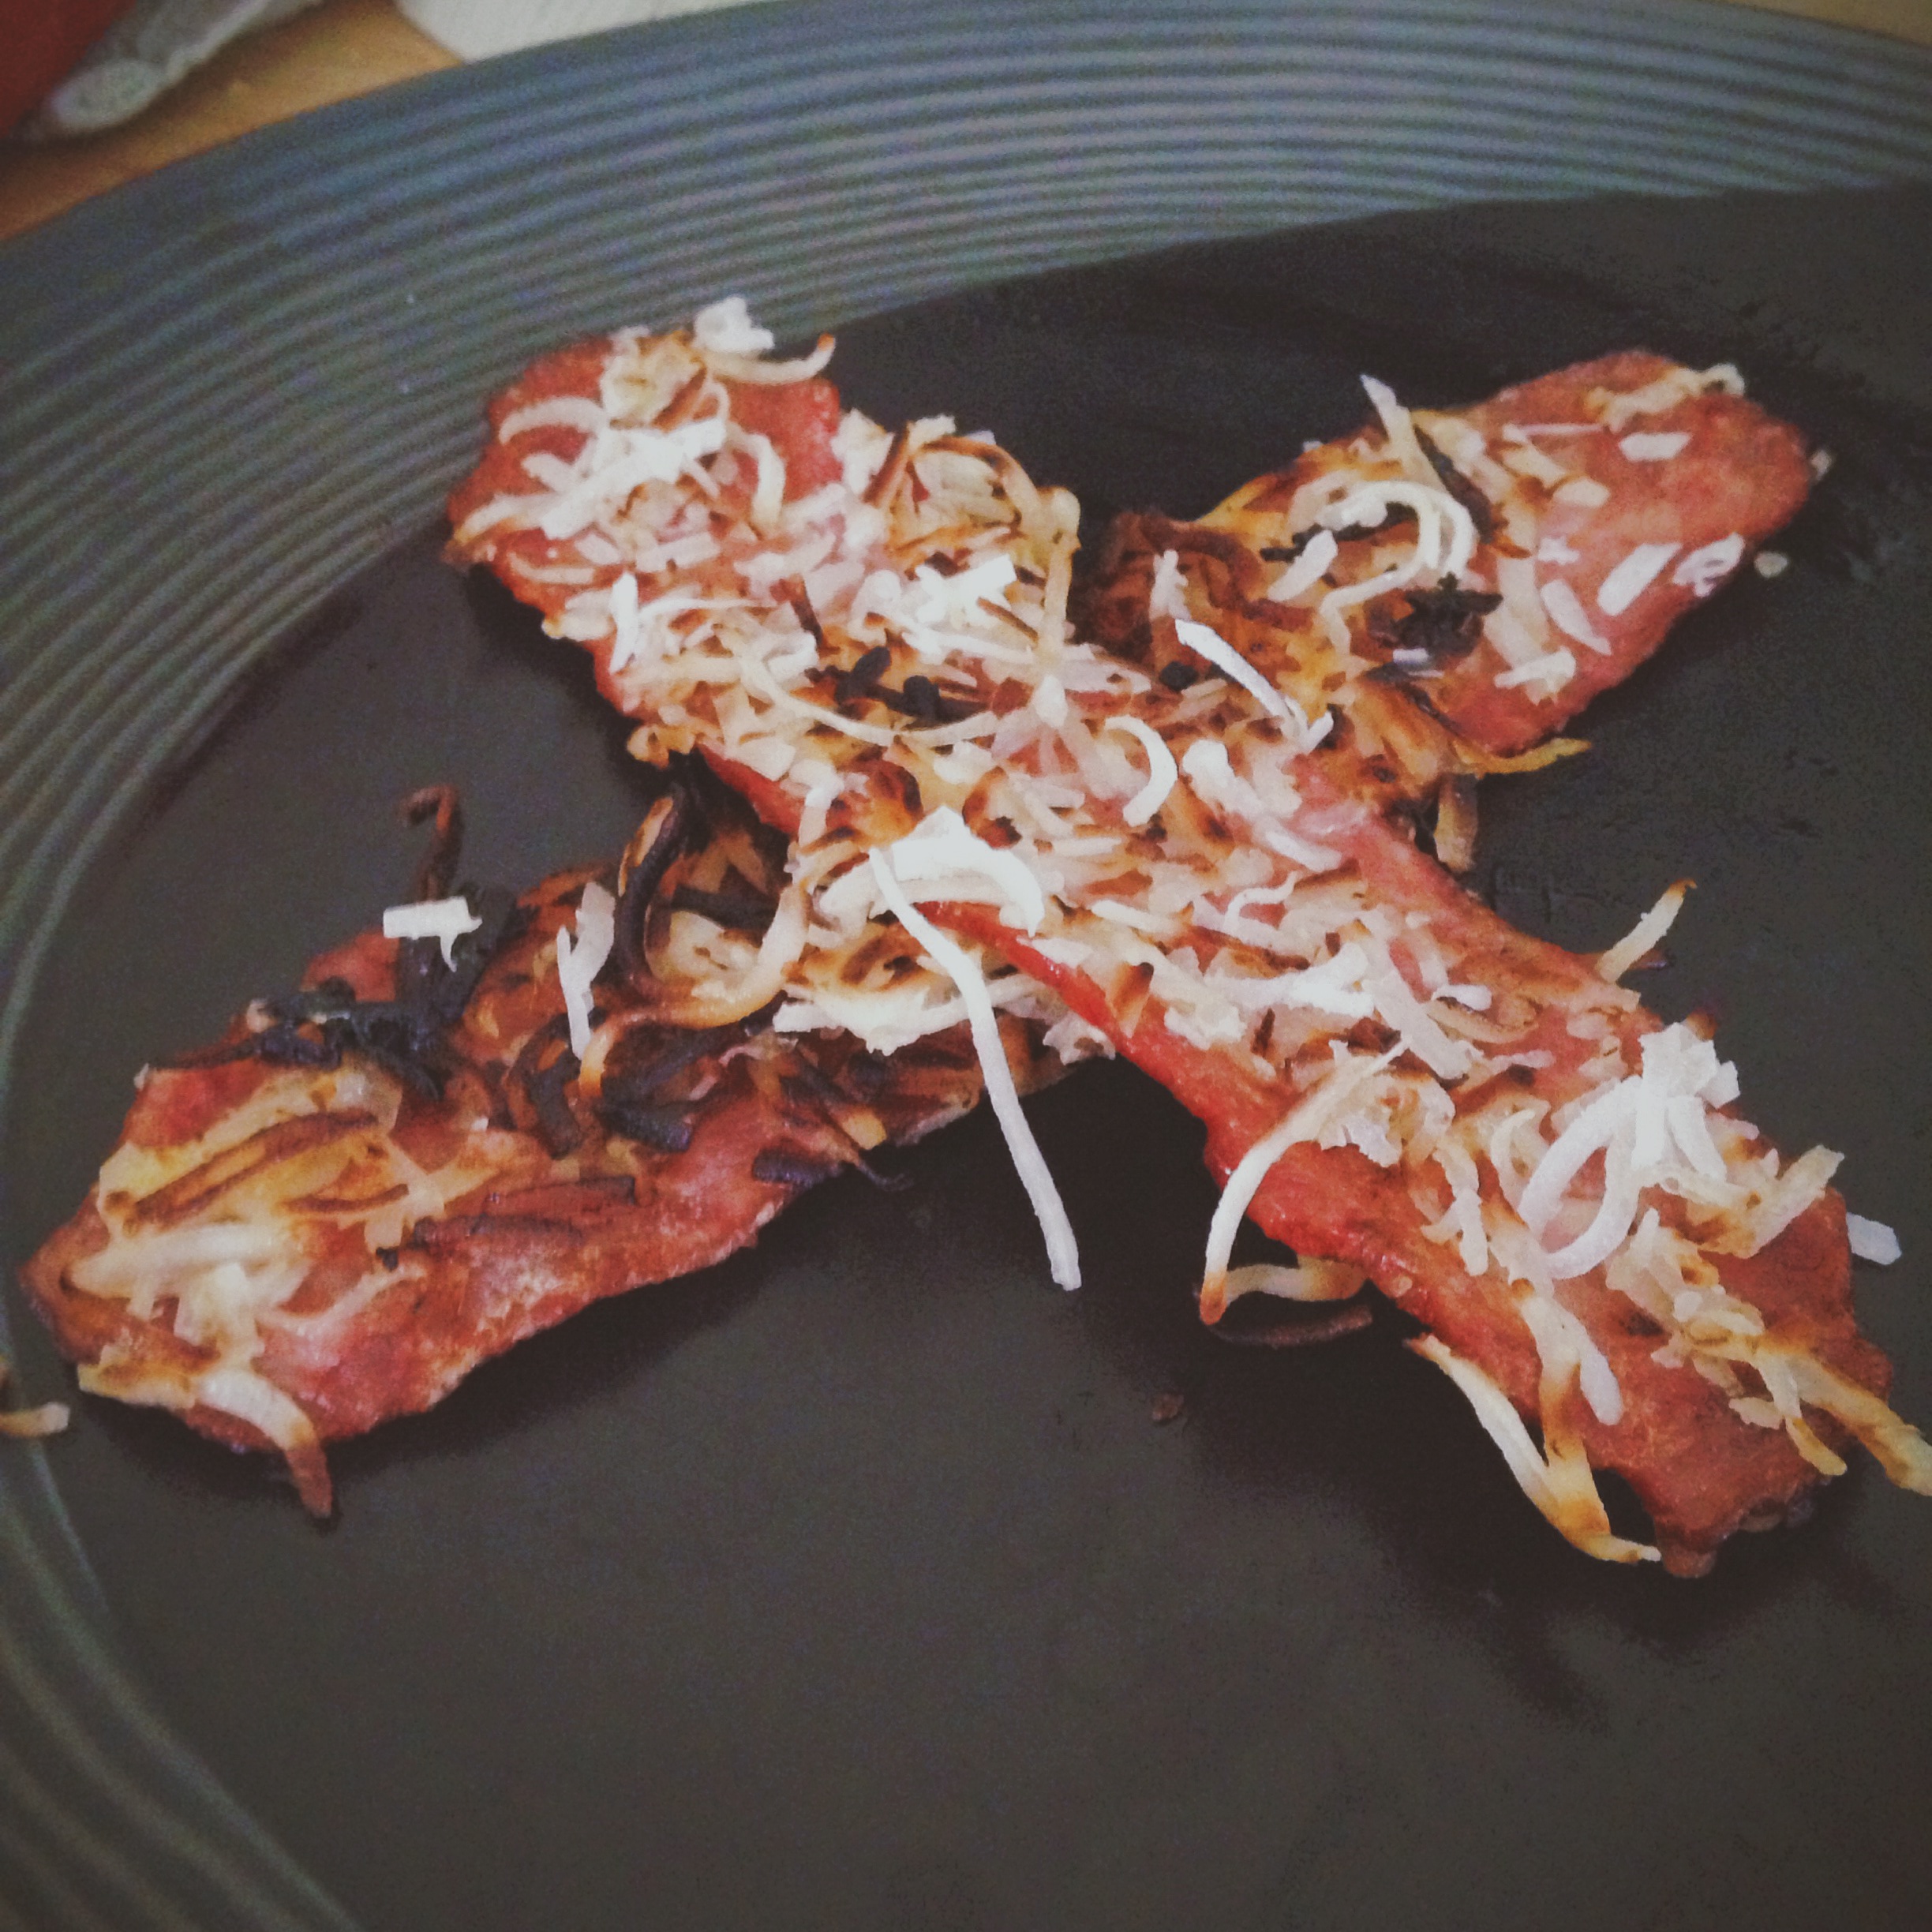
Of course I add my own little twist and turns to make my food super delicious. I turn meal one into scrumptious pancakes

Do you have any workouts that you specifically like, that you believe are very affective?:
HIIT is very affective. I’m talking about a lot of calories and fat burned in a short amount of time. It’s also fun to play around with the intensity and challenge yourself. Normal steady cardio is boring. I find myself seeing the most progress with high intensity interval training always.

How much cardio do you do? (Per day or per week):
Because I am prepping for a show right now, I do cardio 6 days a week. I do one session in the morning and one after lifting.

Sandy Vo 5

Do you have any tips for people who are trying to reach their fitness goals?:
Start by believing in yourself. Believe that you can achieve that physique that you have always dreamed of, but more importantly, believe that you have that strong mentality and power inside of you to do absolutely anything. Back then, running at 8.0 mph for even 20 seconds was impossible to me. It was impossible because I limited myself. But once I tapped into that power I knew I always had inside of me, I finished a mile in 6 min and 30 sec. I’ll never forget how accomplished I felt. Another super important tip is be patient! All your hard work will pay off if you are willing to be patient for it. The small progresses are the best. Learn to love them, reward yourself for them versus picking on yourself for not seeing any changes. I promise you that you can wait just a little bit longer while continuing to do what you do, you WILL get there!

Do you have any other things you would like to say? (Comments, Suggestions, etc)?:
I’m currently in the making of my own incredible fitness journey and I have yet to be at the level that I want to be at but looking back, the fact that I have made it this far is what thrills me the most. I’m super excited to see how far I am going to take myself with this show coming up! I’m taking my readers a long with me through my journey on Youtube as well, so feel free to watch me go!

Did you like this Feature Friday Inspiration? Do you want to know more about Sandy Vo? Do you think you have what it takes to be my next Feature Friday Inspiration? Email me at corestrengthalec@gmail.com