BOSU Burpees

Back to BURPEES! I promised that I would show you other versions of Burpees and the one I am about to show you is one of my favorites. For this variation, you will need to use a BOSU ball. These BOSU Burpees intensify your workout by adding stability and resistance components to your burpee.

To do a BOSU Burpee:
1. Start in a standing position holding the BOSU Ball handles with the ball facing away from your body.
2. Squat down and place the BOSU ball on the ground. (The flat side should be facing up and the ball side should be on the floor)
3. Jump your feet back to put yourself in a plank position while still holding the BOSU ball handles.
3a. Optional Pushup
4. Jump your feet forward to return to the squat position.
5. Raise the BOSU ball above your head.
6. Jump up. While jumping, press the BOSU ball up toward the ceiling.
7. Repeat from Step #1.

Tips:
1. If you are not familiar with Burpees, or forget some of the tips I have given to get the most out of these exercises, check out my ‘How to do a Burpee’ Post before trying this more difficult variation of the exercise. It is important to understand the body mechanics of the basic exercise before trying more difficult variations in order to prevent injury.
2. Remember, when squatting down, try and get your glutes low to the floor.
3. Activate your core while in the plank position. The BOSU Ball will add an additional stability aspect to the exercise which will require more core strength and activation than the Basic Burpee.
4. When jumping during this exercise, you also press the BOSU Ball up toward the ceiling. Adding the BOSU ball will not only add weight to your jump making the jump more difficult, but it will also help tone your shoulders while pressing the BOSU Ball up.

Bosu Burpee: Step 1

Bosu Burpee: Step 1

Bosu Burpee: Step 2

Bosu Burpee: Step 2

Bosu Burpee: Step 3

Bosu Burpee: Step 3

Bosu Burpee: Step 3a (optional pushup)

Bosu Burpee: Step 3a

Bosu Burpee: Step 3a (finish optional pushup)

Bosu Burpee: Step 3a

Bosu Burpee: Step 4

Bosu Burpee: Step 4

Bosu Burpee: Step 5

Bosu Burpee: Step 5

Bosu Burpee: Step 6

Bosu Burpee: Step 6


Do you any variations of Burpees that you like to include in your workout routine? Contact me at corestrengthalec@gmail.com for any questions, comments, or ideas for new topics.

How to do a Burpee!

BURPEES! You love them and you hate them.
Burpees are an amazing cardio workout and work many of your major muscle groups. Burpees are one of the best full body workouts you can do in your exercise routine, however it is also easy to do a burpee incorrectly, making the exercise not as effective.

To do a Basic Burpee:
1. Start in a standing position
2. Squat down and place your hands on the ground.
3. Jump your feet back to put yourself in a plank position.
4. Jump your feet forward to return to the squat position.
5. Jump up straight off the floor from the squat position.
6. Repeat from Step #1

There are many variations of Burpees. The most common variation is the Burpee Pushup where one pushup is done while in the plank position. (Between steps #3 and #4 of the Basic Burpee instructions, do a pushup).

Tips:
1. When squatting down, try and get your glutes low to the floor. This will make the exercise seem harder, but that is because you are activating most of the muscles in your legs from your quads, to your glutes and hamstrings. This muscle activation will help tone your legs more effectively.
2. While in the plank position, make sure to keep your body completely flat and activate your core. It is very easy to raise you hips and glutes up toward the ceiling.
3. When jumping during this exercise, and in any other exercise, land with bent knees. If you jump and land with your legs completely straight, you will put too much pressure on your knees and lead to injuries in the future.
4. Burpees can be done as a FT workout (For Time) or AMRAP workout (As Many Reps As Possible). If you do a FT workout, give yourself a certain number of burpees to do and see how much time it takes you to complete the workout. If you choose to do an AMRAP workout, give yourself an amount of time, usually a minute or two, and see how many burpees you can do in the time allotted.

Burpee: Step 3

Burpee: Step 3

Burpee: Step 2

Burpee: Step 2

Burpee: Step 1

Burpee: Step 1

Burpee: Step 5

Burpee: Step 5

Burpee: Step 4

Burpee: Step 4

Burpee: Step 3a (optional pushup)

Burpee: Step 3a (optional pushup)

Burpee: Step 6

Burpee: Step 6

Do you include Burpees into your workout? Do you have any variations that you would like to share? Contact me at corestrengthalec@gmail.com for any questions, comments, or ideas for new topics.

Are you new to the Gym?

Alec Varcas Bicep

I was recently asked to do a post for people who may just be starting out the gym or who may be considering adding exercise into their daily routine. Most people have the same feeling when they join a gym… “What do I do?” You don’t know what exercises to do, you are scared people will judge you, and you don’t even know what your body can handle doing. This post will hopefully ease some of those worries you may be having and give you some tips on how to get a good start at the gym.

First of all, realize that people are not judging you. I personally am proud of you for wanting to make this change in your life! Getting the motivation to go to the gym is the first big step towards achieving a healthy lifestyle. We all started somewhere and we all know exactly what it feels like when you take your first few steps into the gym. We all are in the gym for the same reason, to improve ourselves! I have nothing but respect for everyone who takes time out to make exercise an important aspect of theirs lives.

Now, what do you do at the gym? You walk in and see a ton of different types of people, hundreds of machines and weights, and you honestly don’t know if you should just walk in with your chin held high, run and hide in the locker room, or just turn around and never come back. My suggestion is to first, put your stuff down in the locker room and then ask one if the gym employees to give you a tour of the gym. That is why they are there… to help you! Take a quick look around and learn about the different areas and exercise equipment the gym has to offer! ASK QUESTIONS! If you do not understand something, ask the employee while he/she is guiding you around. The more you understand and grasp now, the better!

I burned 921 calories in an hour...

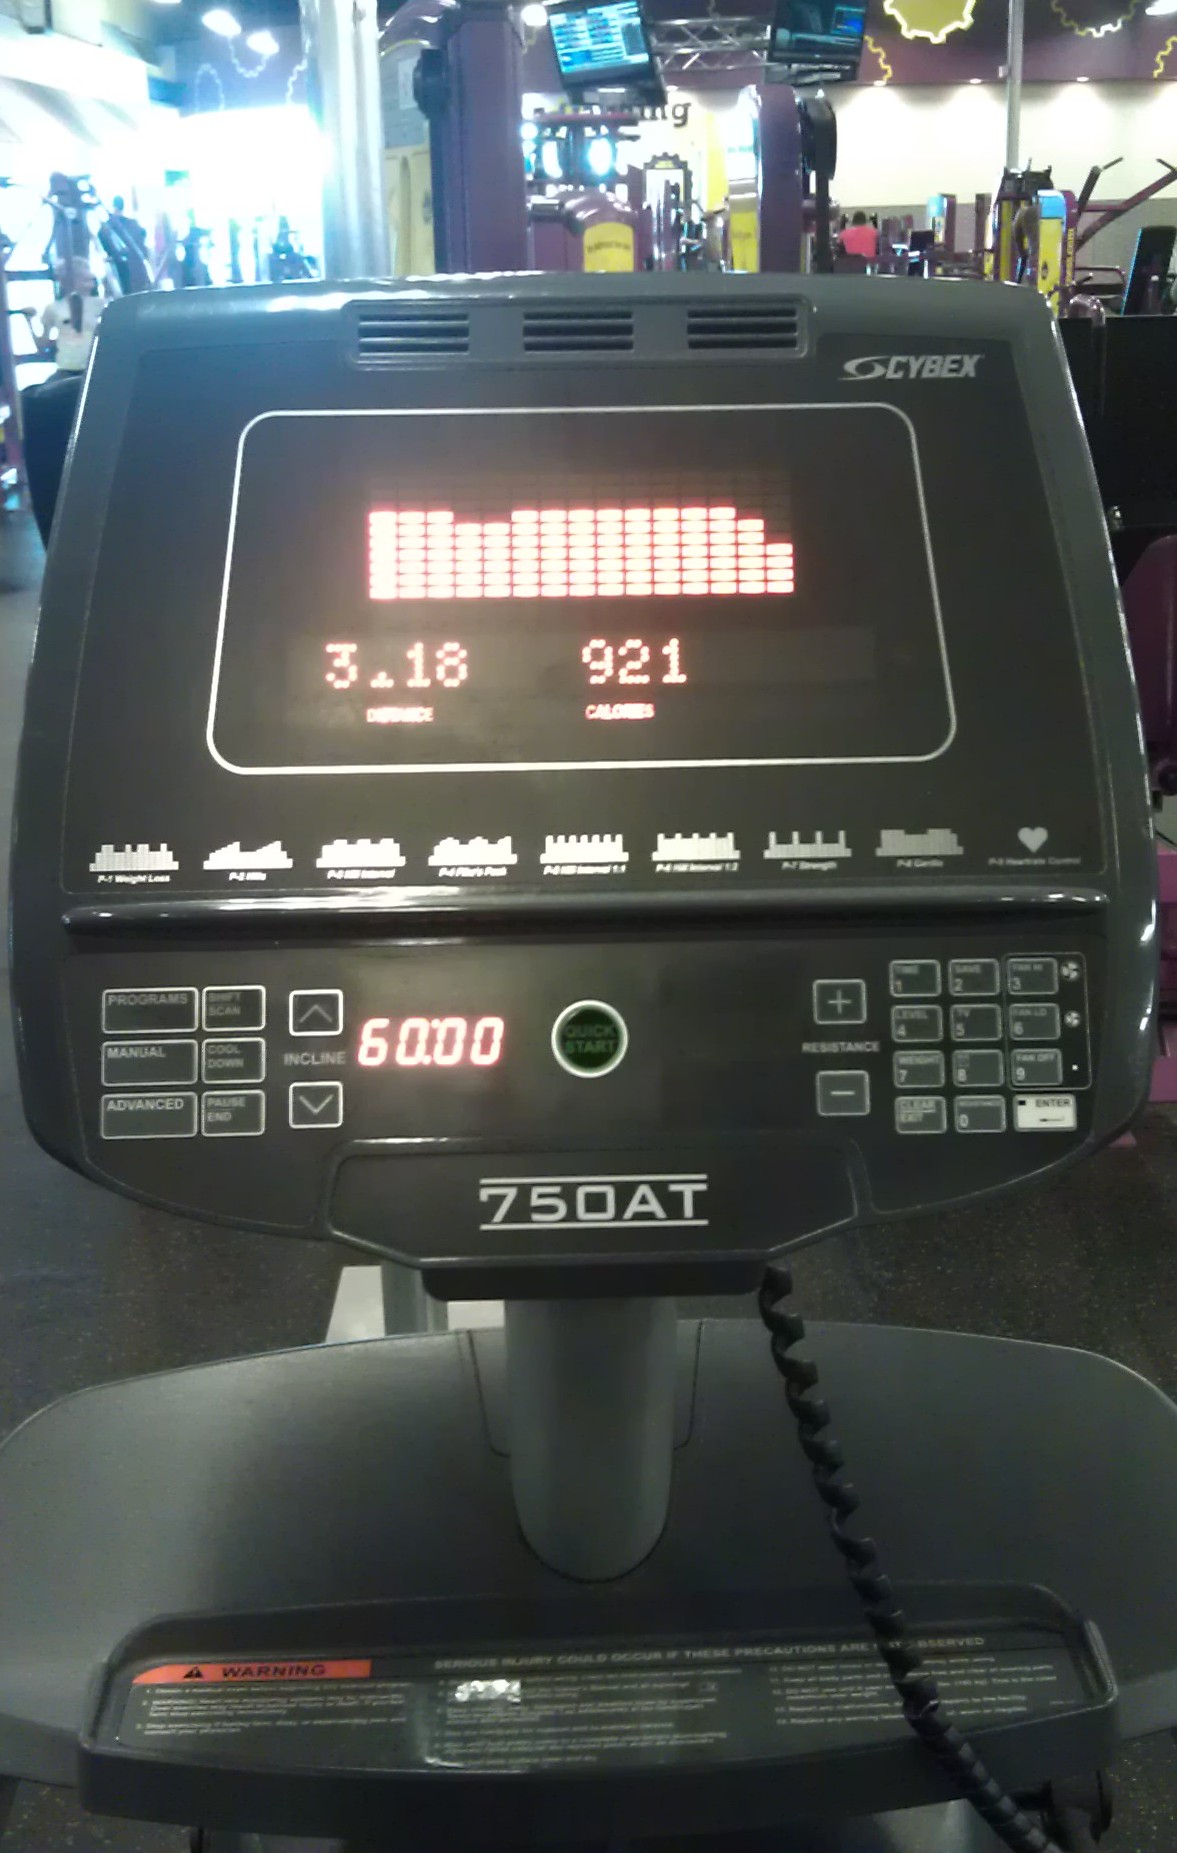
I burned 921 calories in an hour…

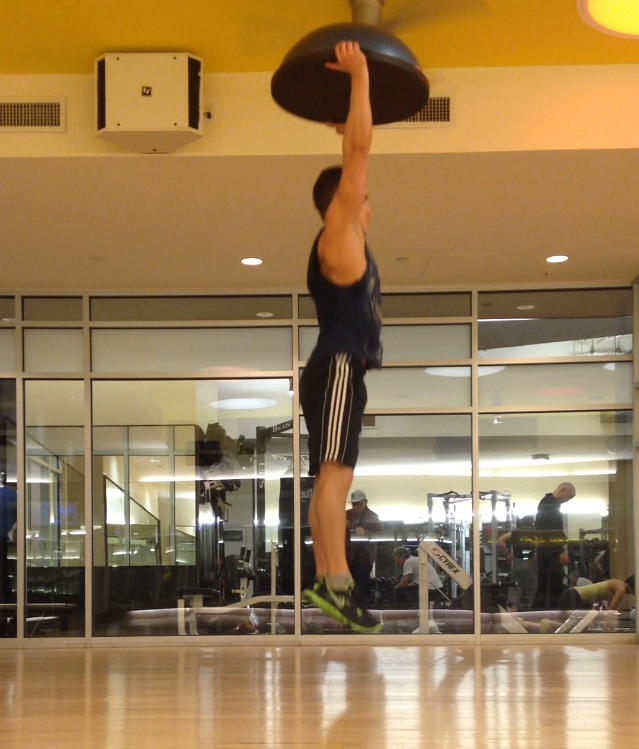
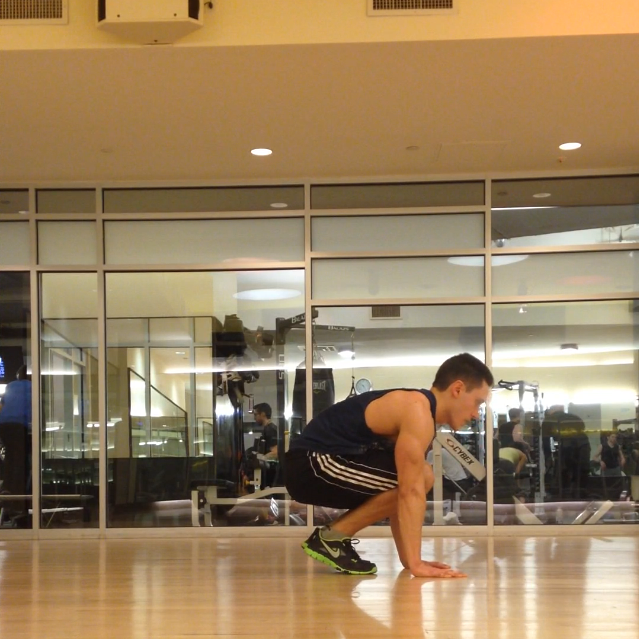
Once the tour is over, it is now time to try out some of the equipment. I personally would suggest starting with an easy stretch in an open area somewhere, and then I would try using one of the cardio machines. Most gyms have treadmills, ellipticals, stair climbers, etc. and they are all pretty easy to use and understand. These are great to start with not only to get your body warm, but after using one of these machines for a while, I promise you that it will calm you down. You will feel less nervous about exploring the gym and trying out some new machines!

Ok, cardio is over; now it is time to do some muscle training. If you are really not familiar with weightlifting at all, try some of the machines the gym has to offer. If the gym is kept well, all of the weightlifting machines should have directions on how to perform the exercise and it also shows you which muscles the machines target. Start with the machine on a low weight and see if the motion is comfortable. If you believe you understand how the exercise is done, adjust the weight to a more proper resistance and try doing 3-5 sets of an exercise at the machine. If you have any questions, feel free to ask the staff at the gym, or even some other people working out. I have never come across a horribly rude person in a gym that is not willing to help.

Try out a few different machines, and when you feel like you your muscles are pretty tired and you worked them pretty well, it is time to call it a day… you will probably be sore tomorrow :-). Congratulations! You survived your first gym trip!

Now as you are recovering from this gym shock you just put your body through, you should now start researching different exercises you can do at the gym. You have see what machines and weights your gym has to offer so look up some different exercises you can do to target the areas of your body you most want to fix. There are thousands, if not millions of websites and videos offered online. I have been working out for a few years now and I still find workouts from blogs and videos that I would like to try. The more research you do, the more options you will have at the gym!

Now if you are really looking to make some fast progress and would like to do your absolute best at the gym, I HIGHLY recommend getting a personal trainer. A personal trainer can make a plan for you that directly reflects the goals you are trying to achieve. A good personal trainer will be able to keep changing up your routine in order to confuse your muscles and get good results quickly. A great personal trainer will also be able to give you diet and nutrition tips to practice outside of the gym to boost your results even more. Yes, a personal trainer can be expensive, but a few sessions with a great personal trainer can help you get into a proper routine to improve your health and quality of life in the long run. On a good note, if you are not sure about a personal trainer, some gyms actually give a free session with a trainer for signing up, and many personal trainers may work with you for a little time to see if you like their suggestions before you make any commitment to them. Try out a trainer! If you figure out that a trainer is not for you and you are more comfortable on your own, then at least you tried and now you know how you prefer working out!

I hope these tips will help you feel a little more comfortable about joining the gym! Don’t be afraid because there is nothing to be afraid of! If you have any questions or concerns, please contact me at corestrengthalec@gmail.com

Leg Pull-Ins/Leg Tucks (Level 1)

Leg Pull-In: Position 1

Leg Pull-In: Position 1

The Leg Pull-In is an exercise that specifically activates your upper, middle, and lower abs. The reason I really enjoy this workout is because anyone from a beginner to a professional fitness instructor can benefit from this exercise, and it also is a great transition workout to do between exercises.

To perform a Leg Pull-In:

    1. Find an open space on the floor.
    2. Lean slightly backward (about a 45 degree angle).
    3. Place your hands on the floor, behind your hips, with your fingertips facing forward (toward your legs).
    4. Keep your legs straight and raise them a few inches off the floor (You are now in position 1 of the exercise as seen in the picture above).
    5. While exhaling and tightening your abs, bring your knees toward your chest and raise your torso slightly toward your knees(This is position 2 of the exercise as seen in the picture below). Hold this position for about one second.
    6. Extend back out to position 1 and hold for one second.
    7. Repeat switching between Position 1 and 2 for the determined amount of reps (I usually do about 20 reps).

Leg Pull-In: Position 2

Leg Pull-In: Position 2


Tips:

    1. Exhale while bringing your knees in. When exhaling you will be able to tighten and activate your abs more effectively.
    2. If you are new to this workout, try doing between 5-10 reps, and then increasing the amount of reps you do per set once you become stronger.
    3. This exercise can also be done on a bench or seat. Simply place your hands on the edge of the bench/seat and extend your legs out.
    4. This is one of my favorite transition exercises to do between more intense exercises such as a bench press or shoulder press. This workout will help keep your heart rate up while only exhausting your core muscles and giving the other muscles you may be training some rest between sets.
    5. To increase the intensity of the workout, move your hands next to your hips instead of behind you. This will help activate your entire core more effectively.
    6. For more advanced people, you can add weight to the exercise by using weighted ankle wraps, placing a dumbbell between your feet, or using the cable machine and strapping the cables to your ankles. WARNING: Be very careful when adding weight to any ab workout. Adding too much weight before your body is ready can cause serious injury or hernias.

Hope you enjoy this workout! If you have any questions of concerns, contact me at corestrengthalec@gmail.com