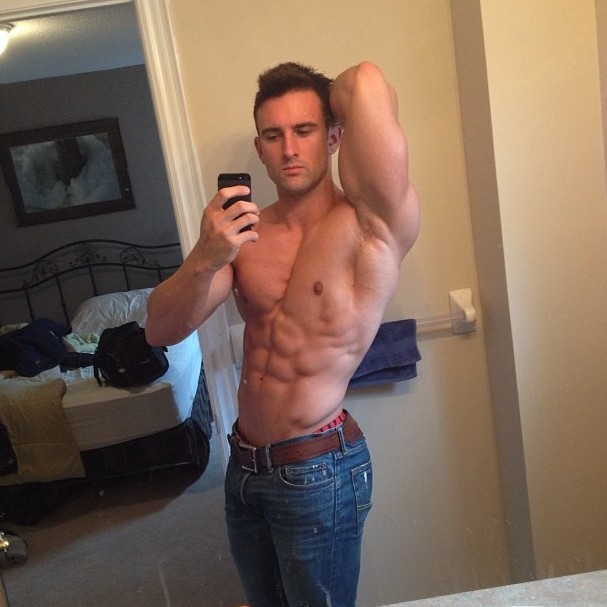
Feature Friday: Dylan Thomas

Dylan Thomas 1

First name: Dylan
Last name: Thomas
City: Toronto
Province: Ontario
Age: 22
Height: 6’0″
Weight: 210lbs (throughout the year) 195lbs (competition weight)
Profession: Trainer/Online Training Coach

Follow Him:
Twitter: @DylanThomasfit
Instagram: Dylanthomas_fitness_toronto

When did you start working out?:
When I was 16.

How many days a week do you work out?:
While prepping for competition, I’m training 5 days a week with weights and on my off days from weights I will do HIIT (High Intensity Interval Training). Throughout the year, if I’m not doing a show, I typically train 4-5 days a week.

How long is your average workout?:
About 45 minutes.

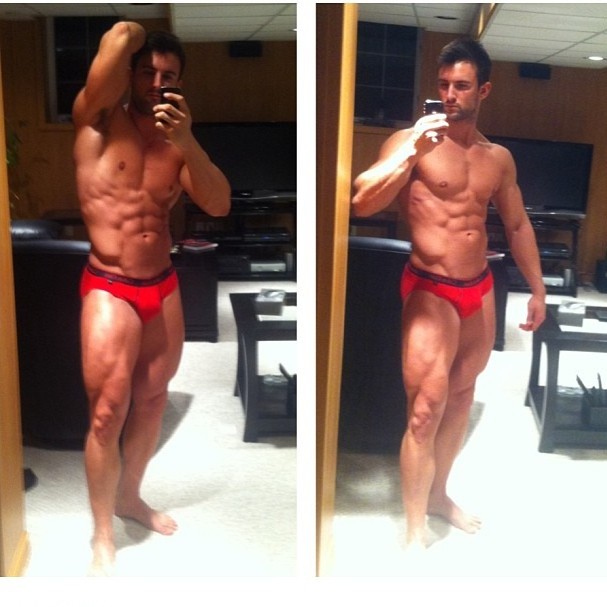
Favorite muscles to exercise:
Legs (I’ve always admired people with great leg development. It’s a sign of true fitness.)

Dylan Thomas 2

Least favorite muscles to exercise:
I dont have one. I enjoy training my entire body.

Do you have any fitness goals? If so, what are they?:
I would like to earn my Pro card this year.

Do you have any fitness inspirations? If so, who are they?:
Arnold, Steve Reeves, Bob Paris, Frank Zane, and before I was into bodybuilding I was inspired by a rugby player, Gavin Henson. I greatly admired his strength and physique, as well as skill, and it inspired me to go to the weight room for the first time.


What supplements do you take or recommend?:
Whey protein, creatine, multi, fish oils.

Can you give a brief overview of your diet?:
It changes from day to day, but at the moment I’m carb cycling so every 3rd or 4th day I’ll have a re-feed day. My Typical day is 230g carbs/275g protein/80g fat and every 3rd day my day would be 470g carbs/250g protein/75g fat.

What does your diet consist of during a Bulking Phase?:
During a bulking phase I am not nearly as strict with my eating habits. I’ll eat over 5-600 grams of carbs a day and about 275-300 grams of protein with 70-80 grams of fat. These types of numbers allow me really to eat whatever I’d like whenever I’d like.

Dylan Thomas3

What does your diet consist of during a Cutting Phase?:
During a cutting phase, I’ll begin weighing my food out and counting everything I eat against my allotted macronutrients breakdown for the day so I do not over eat.

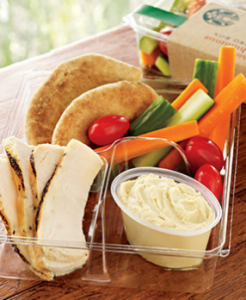
You say you load on carbs every few days… What foods do you eat during these times to load on good carbs?:
My go to carb sources are in no particular order as I don’t view one being better than another: basmati rice, sweet potatoes, oatmeal, Ezekiel cereal, Ezekiel bread, fruits such as strawberries, blueberries, raspberries, and bananas, as well as my green veggies favorites being asparagus, broccoli & green beans. The important thing is usually to count all the carbs in everything you eat. For instance, you’re eating oatmeal and it is a “carb” source, but you still need to count the protein and fat in the oatmeal otherwise you’ll likely go over what you should be eating for the day without even realizing it!

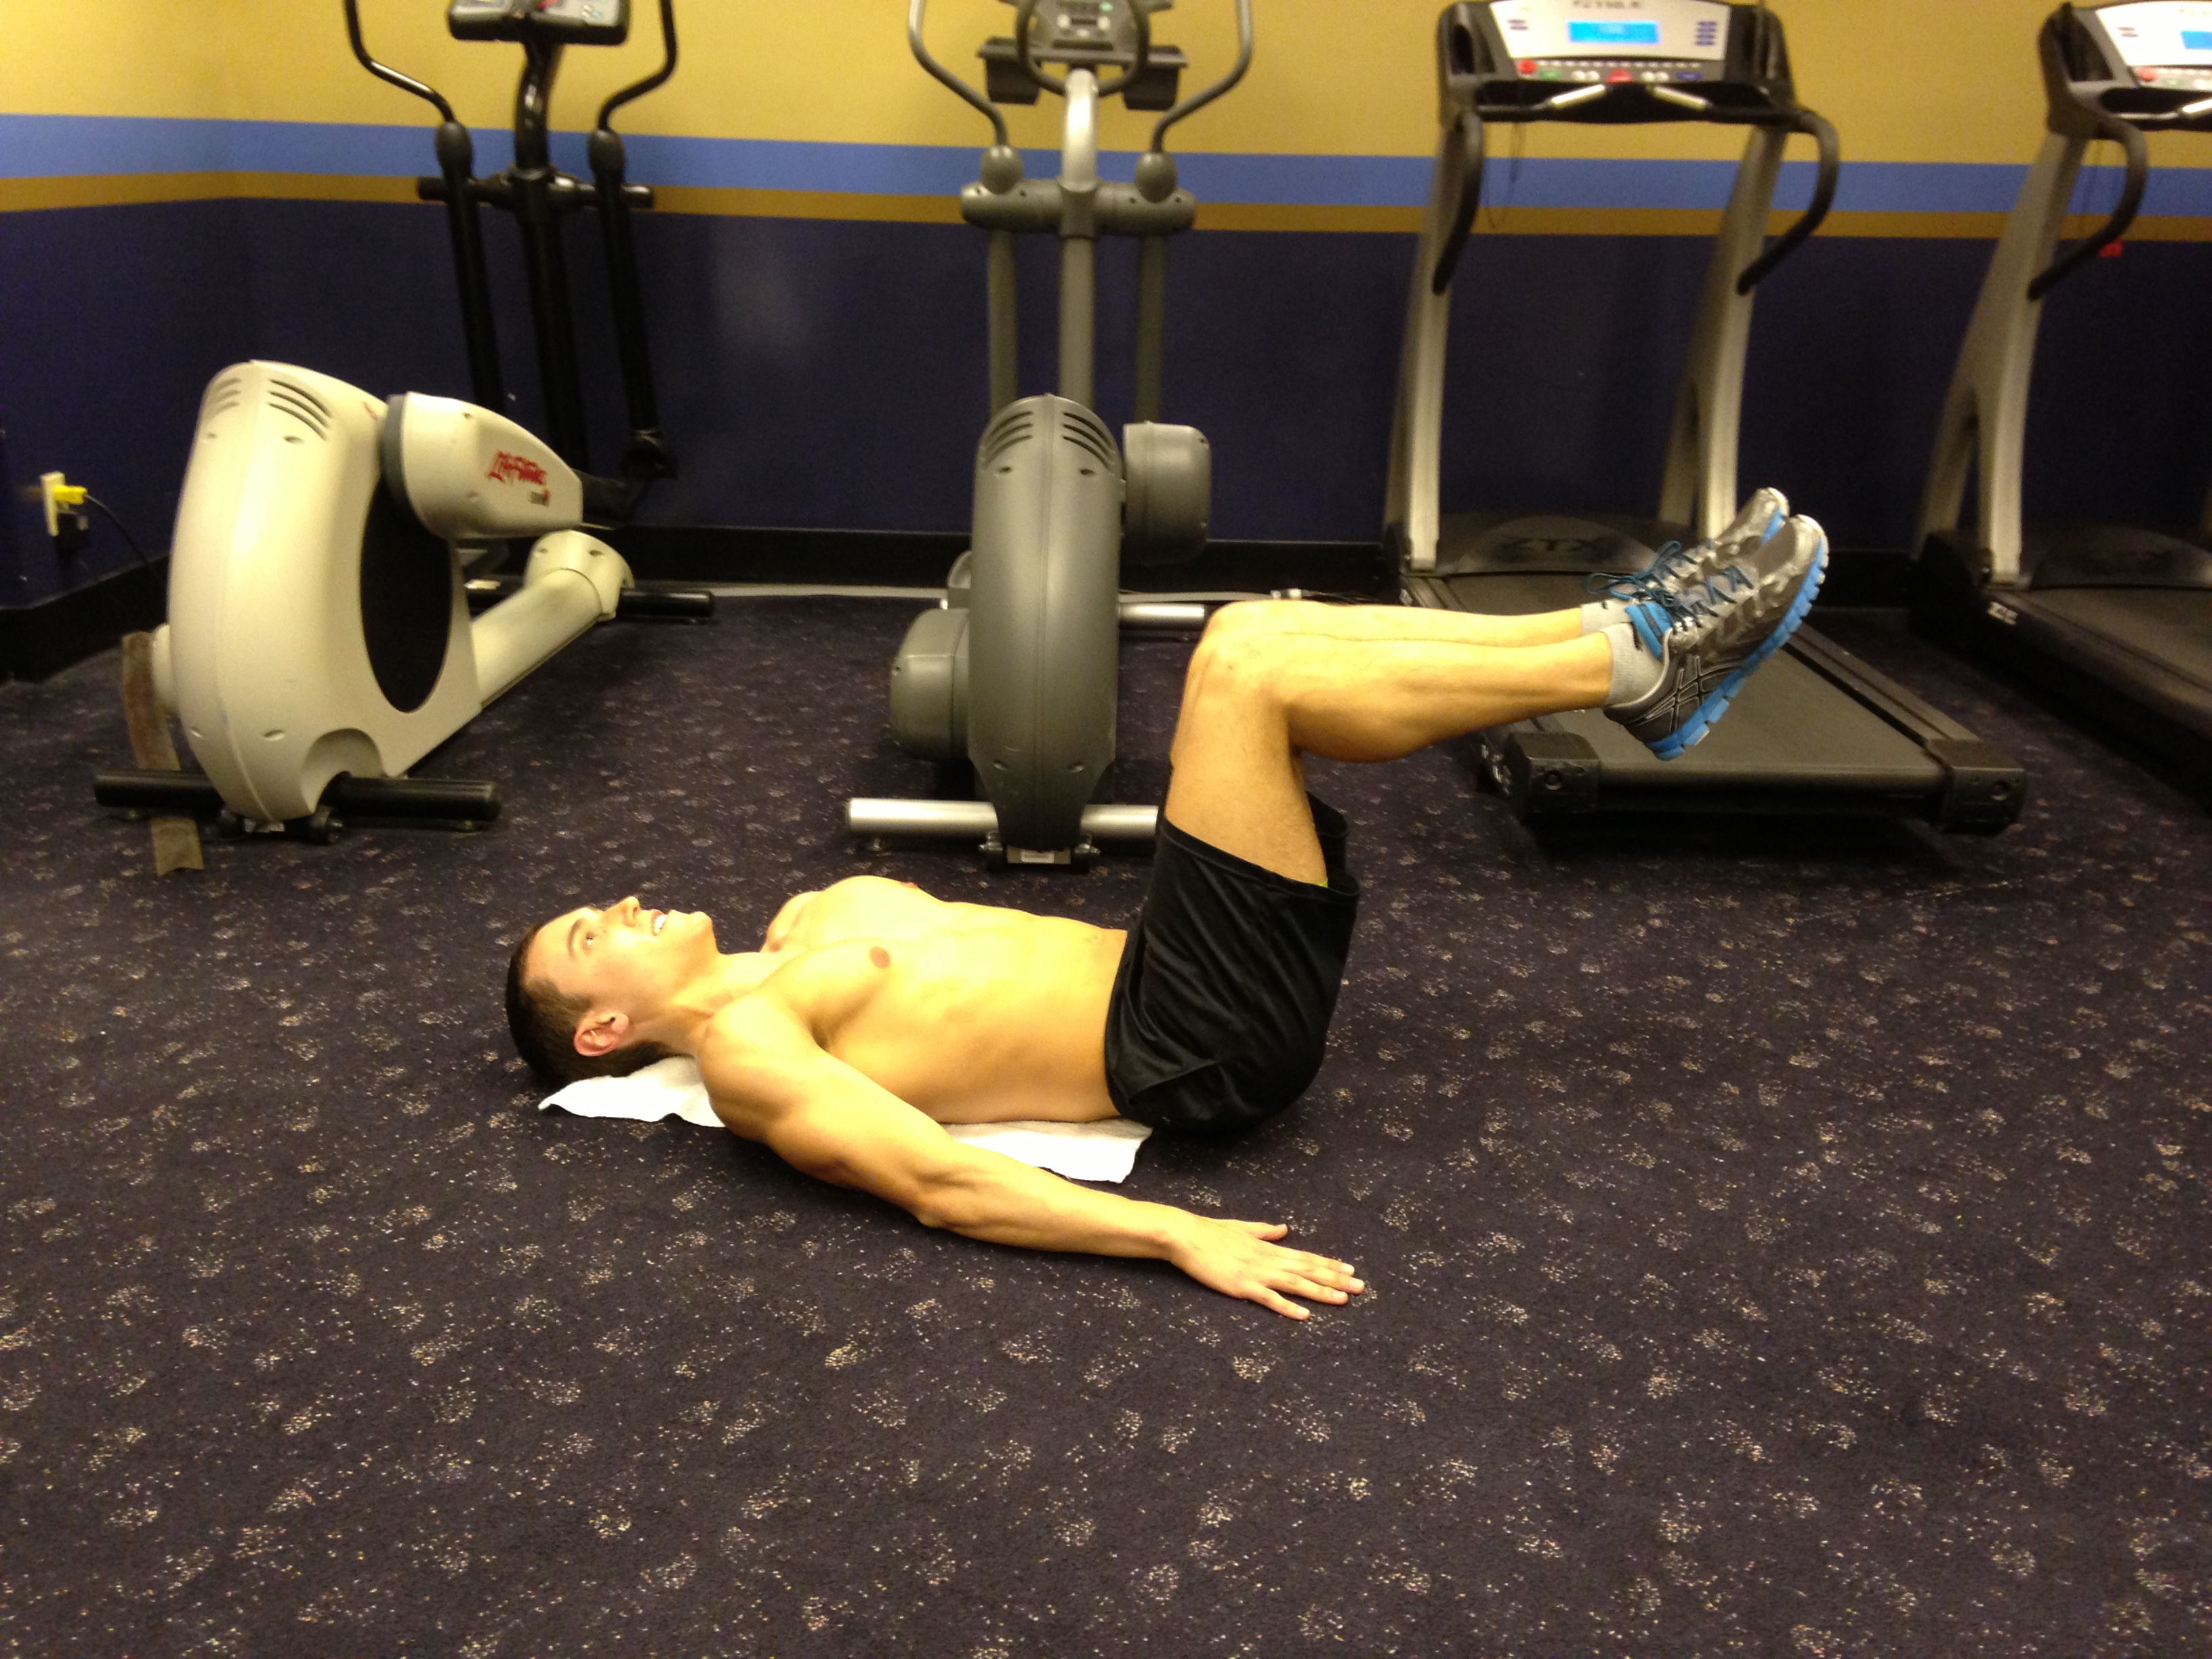
Do you have any workouts that you specifically like, that you believe are very affective?:
Higher volume on lower body (15+ reps) and between 10-12reps on upper body. At the moment I’ll incorporate a lot of supersets and dropsets though as a means to increase the intensity of my workouts while getting ready to compete (April 27th).

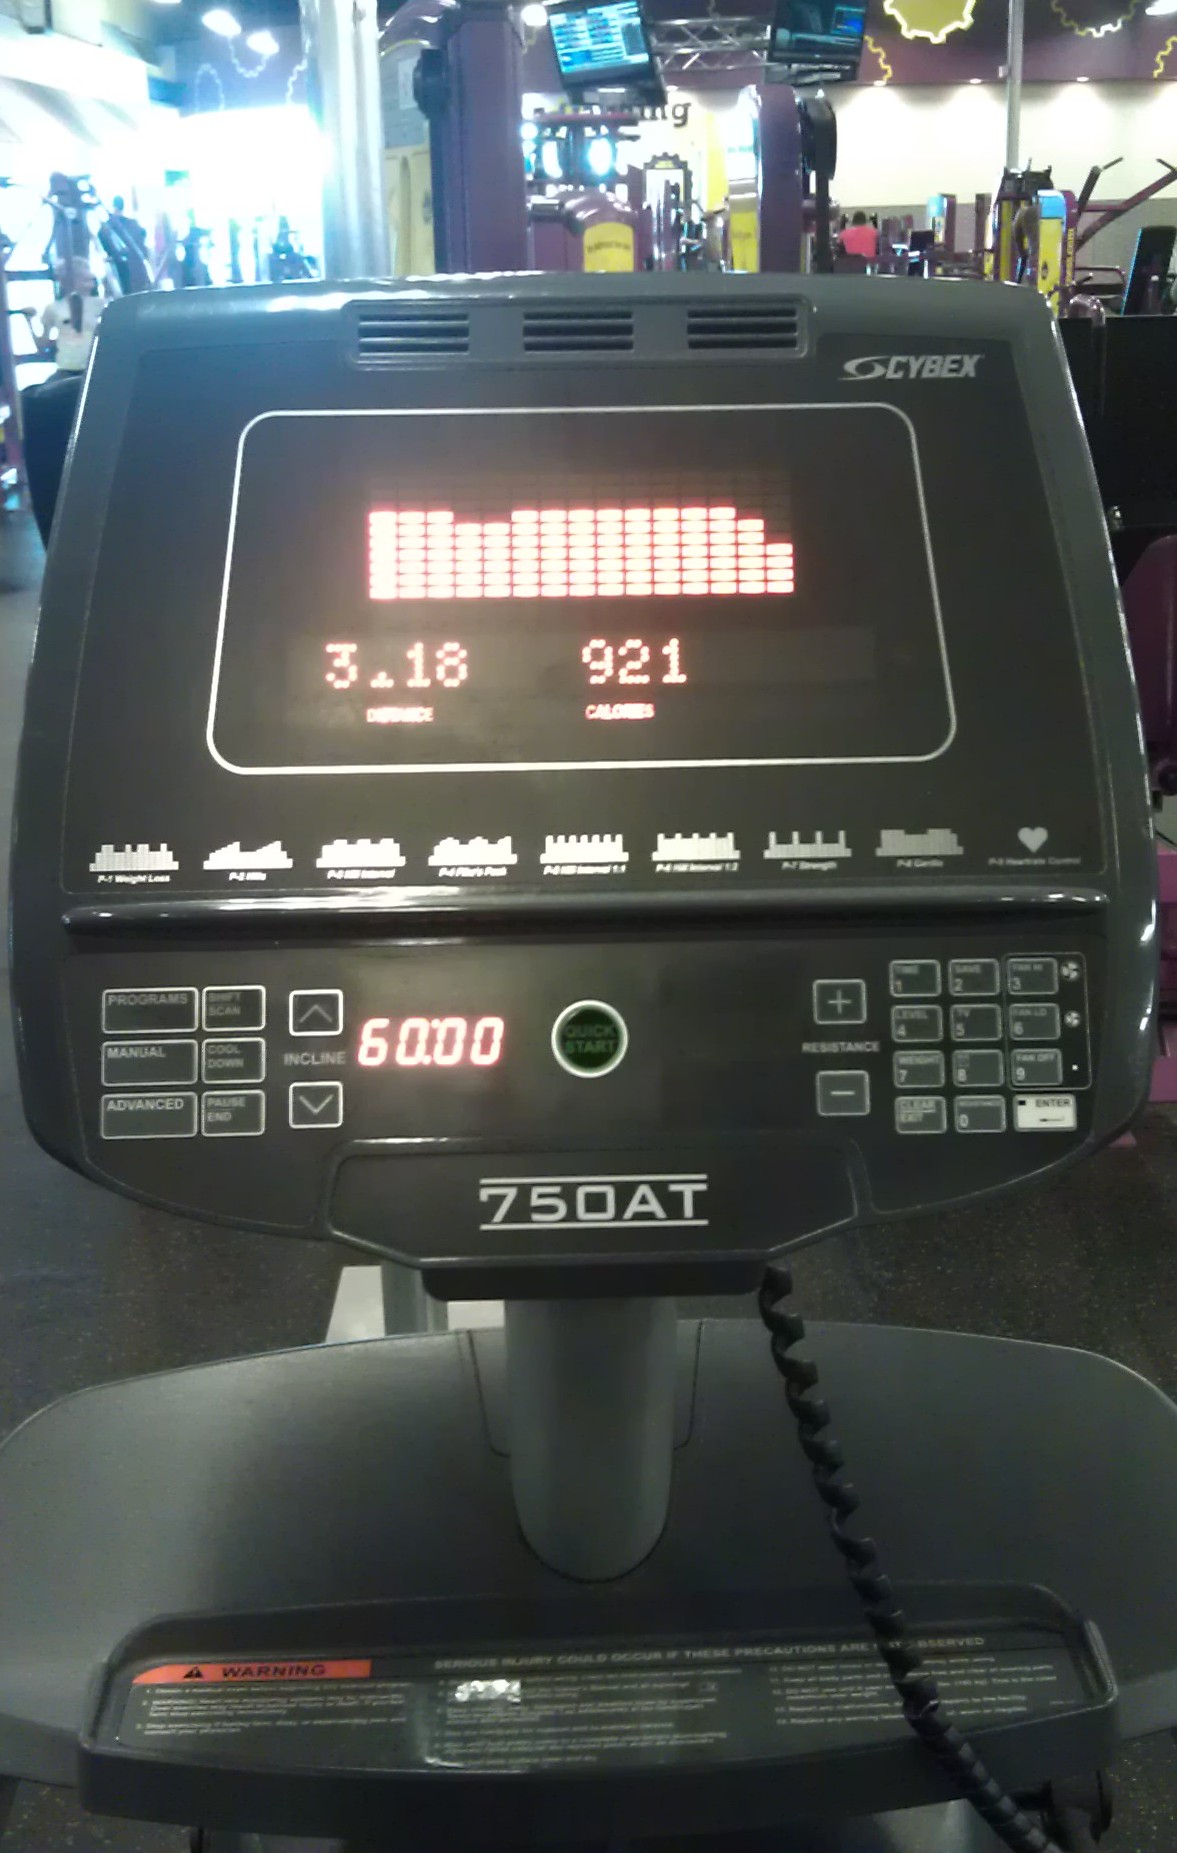
How much cardio do you do? (Per day or per week):
Two times a week I do 20 minutes of high intensity interval training (all out sprints). I also like to walk for about 30 minutes each day on weight training days just to burn a little more calories.

Dylan Thomas 4

Do you have any tips for people who are trying to reach their fitness goals?:
Stay consistent and diet over everything else will determine your success in achieving your dream body.

How do people get ahold of you for your online training?:
If people our interested in my online training services they can reach me at dylanthomasfitness@hotmail.com.

Do you have any other things you would like to say? (Comments, Suggestions, etc)?:
“mens sana in corpore sano – a healthy mind in a healthy body”

Did you like this Feature Friday Inspiration? Do you want to know more about Dylan Thomas? Do you think you have what it takes to be my next Feature Friday Inspiration? Email me at corestrengthalec@gmail.com

Leg Lifts with Stability Ball

Leg Lift (w. stability ball) - Position 1

Leg Lift w. stability ball – Position 1

This is another variation of a leg lift that I personally love doing in tandem with the Reverse Crunch exercise with the Stability ball (Click Here to see the Reverse Crunch stability ball exercise). Using the stability ball adds some resistance to the traditional leg lift which will activate your core muscles and your hips flexors. This exercise specifically helps target your lower abs and help create that “V” cut in your lower ab/hip region.

To Perform a Leg Lift with a Stability Ball:

    1. Lie flat on the ground with a stability ball between your feet.
    2. Place both hand at your sides (Make sure to keep your back flat on the ground).
    3. While squeezing the stability ball between your feet, raise the stability ball a few inches off the ground (Now you are in Position 1 as shown in the picture above).
    4. While still squeezing the stability ball between your feet, lift your legs up to create a 90 degree angle with the floor (You are now in Position 2 as shown in the picture below).
    5. Lower your legs back down to Position 1 with the stability ball a few inches off the ground.
    6. Raise and lower your legs between Position 1 and Position 2 for the recommended amount of reps (I do 3 sets of 15 reps).
Leg Lift w. stability ball - Position 2

Leg Lift w. stability ball – Position 2

Tips:

    1. As I said earlier, this is an exercise I like to do an tandem with the Reverse Crunch stability ball exercise. I usually do 25 reps of the reverse crunch exercise straight into 15 reps of the leg lift exercise, both using the stability ball. This gives my core a nice burn!
    2. Keep your back flat on the floor during this entire exercise. It is common to want to lift your lower back off the floor, but in order to target your core muscles to their fullest potential, your traps all the way down to your tailbone should be on the floor.
    3. Exhale while lowering your legs from Position 2 to Position 1 to activate your abdominals.
    4. You must use controlled motions during this exercise! Focus on using your core muscles to lift the stability ball.
    5. Try holding your legs in Position 1 for a second before raising your legs to Position 2. This will increase core strength and cause you to activate your core muscles affectively.
    6. If you are just beginning this exercise, first try doing Level 1 leg lifts. If you can comfortably perform level 1 leg lifts, move on to try level 2 and level 3 leg lifts. If you can perform those exercises, then move on to this exercise with the stability ball. This exercise is definitely harder than the other variations of leg lifts so start with 8-10 reps of this exercise and work on reaching more reps as your core becomes stronger.

Hope you enjoy this exercise as much as I do. Let me know if you end up using it in your core workout routine. Have any questions or concerns? Email me at corestrengthalec@gmail.com

Are you new to the Gym?

Alec Varcas Bicep

I was recently asked to do a post for people who may just be starting out the gym or who may be considering adding exercise into their daily routine. Most people have the same feeling when they join a gym… “What do I do?” You don’t know what exercises to do, you are scared people will judge you, and you don’t even know what your body can handle doing. This post will hopefully ease some of those worries you may be having and give you some tips on how to get a good start at the gym.

First of all, realize that people are not judging you. I personally am proud of you for wanting to make this change in your life! Getting the motivation to go to the gym is the first big step towards achieving a healthy lifestyle. We all started somewhere and we all know exactly what it feels like when you take your first few steps into the gym. We all are in the gym for the same reason, to improve ourselves! I have nothing but respect for everyone who takes time out to make exercise an important aspect of theirs lives.

Now, what do you do at the gym? You walk in and see a ton of different types of people, hundreds of machines and weights, and you honestly don’t know if you should just walk in with your chin held high, run and hide in the locker room, or just turn around and never come back. My suggestion is to first, put your stuff down in the locker room and then ask one if the gym employees to give you a tour of the gym. That is why they are there… to help you! Take a quick look around and learn about the different areas and exercise equipment the gym has to offer! ASK QUESTIONS! If you do not understand something, ask the employee while he/she is guiding you around. The more you understand and grasp now, the better!

I burned 921 calories in an hour...

I burned 921 calories in an hour…

Once the tour is over, it is now time to try out some of the equipment. I personally would suggest starting with an easy stretch in an open area somewhere, and then I would try using one of the cardio machines. Most gyms have treadmills, ellipticals, stair climbers, etc. and they are all pretty easy to use and understand. These are great to start with not only to get your body warm, but after using one of these machines for a while, I promise you that it will calm you down. You will feel less nervous about exploring the gym and trying out some new machines!

Ok, cardio is over; now it is time to do some muscle training. If you are really not familiar with weightlifting at all, try some of the machines the gym has to offer. If the gym is kept well, all of the weightlifting machines should have directions on how to perform the exercise and it also shows you which muscles the machines target. Start with the machine on a low weight and see if the motion is comfortable. If you believe you understand how the exercise is done, adjust the weight to a more proper resistance and try doing 3-5 sets of an exercise at the machine. If you have any questions, feel free to ask the staff at the gym, or even some other people working out. I have never come across a horribly rude person in a gym that is not willing to help.

Try out a few different machines, and when you feel like you your muscles are pretty tired and you worked them pretty well, it is time to call it a day… you will probably be sore tomorrow :-). Congratulations! You survived your first gym trip!

Now as you are recovering from this gym shock you just put your body through, you should now start researching different exercises you can do at the gym. You have see what machines and weights your gym has to offer so look up some different exercises you can do to target the areas of your body you most want to fix. There are thousands, if not millions of websites and videos offered online. I have been working out for a few years now and I still find workouts from blogs and videos that I would like to try. The more research you do, the more options you will have at the gym!

Now if you are really looking to make some fast progress and would like to do your absolute best at the gym, I HIGHLY recommend getting a personal trainer. A personal trainer can make a plan for you that directly reflects the goals you are trying to achieve. A good personal trainer will be able to keep changing up your routine in order to confuse your muscles and get good results quickly. A great personal trainer will also be able to give you diet and nutrition tips to practice outside of the gym to boost your results even more. Yes, a personal trainer can be expensive, but a few sessions with a great personal trainer can help you get into a proper routine to improve your health and quality of life in the long run. On a good note, if you are not sure about a personal trainer, some gyms actually give a free session with a trainer for signing up, and many personal trainers may work with you for a little time to see if you like their suggestions before you make any commitment to them. Try out a trainer! If you figure out that a trainer is not for you and you are more comfortable on your own, then at least you tried and now you know how you prefer working out!

I hope these tips will help you feel a little more comfortable about joining the gym! Don’t be afraid because there is nothing to be afraid of! If you have any questions or concerns, please contact me at corestrengthalec@gmail.com

Reverse Crunch (with Stability Ball)

A few days ago, I posted an exercise I frequently do called the Reverse Crunch. That exercise is great for core strength and toning, but when I am at a gym, and there is proper equipment around, I like to mix things up a bit. This following exercise is the same as a Reverse Crunch, but you use a stability ball to add some difficulty. The stability ball adds a small amount of resistance, and it also forces you to use better form. You must tightly squeeze your abdominals in order to lift the ball from the ground and it also does not allow your legs to sway too far from a proper position.

Reverse Crunch (w. ball) -  Position 1

Reverse Crunch (w. ball) – Position 1


Reverse Crunch (w. ball) -  Position 2

Reverse Crunch (w. ball) – Position 2

To perform a Reverse Crunch with a Stability Ball:

    1. Find a stability ball that allows you to rest your legs on top while creating a 90 degree angle at your hips and your knees (your calves and feet will be resting on the ball, parallel to the floor).
    2. Lie flat on your back with your hands at your sides.
    3. Place the Stability ball under your calves, resting against the back of your hamstrings. Your knees should only be a few inches apart.
    4. Squeeze your abs and legs in order to lift the stability ball slightly off the floor (You are now in Position 1 as shown in the first picture to the right).
    5. While squeezing the stability ball, raise your knees to your chest.
    6. While in motion of bringing your knees to your chest, roll your pelvis back and raise your hips up off the floor, creating a curve in your spine (You are now in Position 2 as shown in the second picture to the right).
    5. Hold Position 2 for a second and squeeze your abdominals.
    6. Slowly lower your legs and pelvis back down to Position 1.
    7. Repeat the exercise for the recommended amount of reps (I usually do 3-5 sets of 15 reps).

Tips:

    1. Just like any serious ab exercise, control is important! These motions do not depend on momentum, but rather slow controlled motions that engage your muscles.
    2. If this exercise is too difficult, I recommend starting with Reverse Crunches without the Stability Ball. I give step by step directions on how to perform this exercise here: Click Here
    3. Notice that when lowering my legs back down to Position 1, I try not to let the ball touch the floor; this will keep your core activated the entire exercise. If you need to take a break mid-exercise, lower the ball to the floor completely, and when ready, lift the ball off the floor again.
    4. Another possible variation of this exercise, that I find a bit easier to do, would be to have your knees further apart on the ball. The wider your knees are from each other, the easier this exercise appears to be.
    5. Make sure to exhale while bringing your legs up into your chest (from Position 1 to Position 2), and inhale when returning your legs back down to Position 1.
    6. Squeeze your abdominals when you hit the peak of Position 2. You should feel a burn in your entire core.
    7. If you are performing this exercise on a mat, DO NOT hold the edge of the mat. Leave your hands flat on the ground, and depend solely on your abdominals to perform this exercise.
    8. You will notice that it is common for the ball to slip from your legs during this exercise. Try your hardest to keep it in place. If it does move, simply use your hands to get it back into a proper position and continue the exercise.
    9. Stability balls come in all different sizes. Try to find one that allows you to make a 90 degree angle at your hips and knees, letting your calves and feet lie parallel to the ground while resting on top of the ball.

Let me know what you think of this new variation of the Reverse Crunch. I hope you like it! If you have any questions or concerns, email me at corestrengthalec@gmail.com

Book Review: Food Rules – An Eater’s Manual

Michael Pollan Food Rules

Because I am considering going into the health and fitness field as my career, and because this blog is getting a lot of views, I thought I should try to start really researching more into Health and Nutrition. A friend of mine on the tour recently lent me this book called Food Rules – An Eater’s Manual by Michael Pollan. Featured at #1 on the New York Times BestSeller list, this book shares basic rules and guidelines for making better choices while eating.

I highly recommend this book for anyone who would like to improve his/her diet. Now I will be completely honest, I am NOT a reader. I have the hardest time focusing while reading, but with this book, it was so easy to get through (Besides, it is only 139 pages, some of which only have a few sentences on the them). Even though this book may be short, it provides 64 general rules that help you make better food choices and help improve your eating habits.

I don’t want to give too much away in my review because I want you to go buy this book and read it yourself, but from what I took away, Michael Pollan suggests many beliefs of those who may follow a Paleo diet (The same diet Tony Grecco, my last Feature Friday Inspirtation, tries to follow). While reading, he frequently points out his golden rule to eating: Eat Food. Not too Much. Mostly Plants. It sounds very easy, but he goes into much further detail on what this saying actually means, and how to follow this eating habit. Now from the saying, you may be thinking, “Oh, he is suggesting that I become a Vegetarian or a Vegan,” but fortunately he is not saying that at all! I love the fact that he is pro-omnivore! He tells you to eat meat, fish, poultry, eggs, milk, vegetables, fruits, nuts, etc. The rules are not aimed toward changing what foods you eat necessarily, but rather toward opening up your mind and observing what you eat. When you observe what you eat, when you are more knowledgable of how the food gets from the farm to your table, and when you are aware of how you are actually consuming your food, that is when you may actually question and consider changing your eating habits.

Heart Healthy

For the three sections of his golden rule, Eat Food. Not too Much. Mostly Plants, Michael Pollan gives a set of guidelines in order to help you follow these three steps. He knows that following every rule and guideline he suggests can be hard and a huge change from what you are used to, so he openly suggests picking at least one rule from each section and practicing those in your daily life. For example, the rules I would like to try to follow are:

    Eat Food – It’s not food if it arrived through the window of your car AND Avoid foods that have some sort of sugar listed among the top three ingredients
    Mostly Plants – Drink the Spinach Water
    Not too much – The banquet is the first bite

I am not going to explain exactly what these rules mean and how to follow them since I want you to go get the book, but just by reading about how these rules work, and applying them to my diet, I hope to start eating healthier and smarter. I recommend you find which rules you are willing to try out. Some may sound farfetched or too hard to do, but I can guarantee you that you will be able to find some rules that you would like to try. He makes some excellent points and backs up most of his guidelines with reasonings that should hopefully help you better understand the importance and benefit of each rule.

Now go out there and purchase Food Rules – An Eater’s Manual by Michael Pollan if you would like to start changing some of your eating habits! If you have any questions about this book or my review, please feel free to email me at corestrengthalec@gmail.com.

Chocolate Peanut Butter Protein Pudding

This is a snack that I decided to try the other night after seeing a few fitness gurus suggesting it on their social media sites. I was definitely skeptical because it is a really easy recipe, but sounds like it might not taste all that great. To my surprise, however, it was a lot better than I suspected. The best part about it is that it can really help curve your dessert cravings without actually having something that may be totally against your diet.

Chocolate Peanut Butter Protein Pudding:

    2 scoops of Chocolate Whey Protein. (I used Optimum Nutrition Gold Standard Whey Protein)
    2 Tbsp. of Organic Peanut Butter (I used Smuckers Organic Creamy Peanut Butter)
    Add water as needed (I used about 3-4 tbsp.)

Protein Pudding
Directions:
Prep time: 2-3 minutes.
Cooling time: 30 minutes
1. Place 2 scoops of Whey Protein Powder in a bowl
2. Add 2 tbsp. of Organic Peanut Butter
3. Add 1 tbsp. of water
4. Stir
5. Continue toaAdd 1 tbsp. of water at a time and stir until desired consistency is reached.
6. Refrigerate for 30 minutes.

That is it! It is very simple!


Tips:
Smuckers Organic Peanut Butter

    1. Make sure to use Organic Peanut Butter. Organic Peanut Butter IS NOT the same as Natural Peanut Butter. Look at the list of ingredients. You want a Peanut Butter that consists only of Peanuts and maybe 1% or less of salt (no added oils of sugars).
    2. When used with Optimum Nutrition Gold Standard Protein and Organic Peanut Butter, this snack has 450 calories, 18g of fat (3g of saturated fat), 60mg of Cholesterol, 365mg of Sodium, 12g of carbs, 2g of fiber, 3g of sugar, and 55g of protein. The best thing about this snack is the very high protein content of 55g and although it is high in fat, most of the fat is unsaturated and considered good fat coming from the peanut oil.
    3. Due to the high amounts of fat, I would not suggest this snack to someone who is trying to seriously lose weight quickly, but rather to someone who is trying to maintain their weight or possibly gain more muscle mass. Don’t get me wrong, even when trying to lose weight you need good fats to feed your body; however people trying to gain muscle mass may benefit more from this than someone who is looking to loose inches off their waistline in a short amount of time.

Whey Protein

    4. There are other variations of this recipe that I have not tried, but if you are daring, I would love for you to let me know what you think of this recipe. One other variation of the recipe suggests microwaving the peanut butter for 20-30 seconds first, then stirring in a little water, then adding the protein. No cooling is involved for this one. This sounds pretty good too, so I hope to try this in the near future.
    5. I also would be interested trying this recipe with different flavors of protein. If you do get adventurous and try some out, please let me know what you think!
    6. One other thing to maybe consider if you would like a little less fat in your Protein Pudding would be possibly using one tbsp. of Organic Peanut Butter and more water, or possibly even skim milk. Or you could also try using 1 tbsp. of Organic Peanut Butter and 1-2 tbsp. of PB2 with water! Just a thought that may work. I have not tried either of these options, but if you are interested in getting a reduced fat Protein Pudding, this may be something to play around with and consider.

Hope the recipe helps you reach your fitness goals. Let me know what you think by emailing me at corestrengthalec@gmail.com!

Starbucks Lunches and Treats

Chicken and Hummus Bistro Box
A few days ago I wrote a post about the breakfast options at Starbucks, but now I want to discuss the other food options that Starbucks has to offer. Sometimes when you are in a pinch or when you need your mid-day coffee to wake yourself up, Starbucks food is all you have to choose from. After looking over some of the nutritional information that Starbucks has to offer, I have found the good, the bad, and the ugly of what to have at Starbucks.

BISTRO BOXES
Yes – Chicken & Hummus Bistro Box
No – Protein Bistro Box, Cheese & Fruit Bistro Box

The Chicken and Hummus Bistro Box that Starbucks has to offer is actually a pretty good choice when you are really in the need for something quick and healthy. Although I would not recommend it if you are really in the mood for a meal since it only has 260 calories, it only has 7g of fat (1g of saturated fat), 25g of carbs, 5g of fiber, 2g of sugar, and 20g of protein. It seems to be a pretty well balanced snack with a lot of good attributes. I would steer away from the Protein Bistro box mainly because it has 19g of fat and only 13g of protein. I would expect the “Protein” box to have the most protein of all the bistro boxes, but it actually has 7g less than the Chicken and Hummus box. I would also stay away from the Fruit & Cheese Bistro Box mainly because of its high fat content. This one box has 480 calories, 250 of which are from fat (28g of total fat, 10g of saturated fat, 0.5g of trans fat). One other box Starbucks offers is the Goat Cheese & Garden Veggies Bistro Box. This isn’t a horrible choice since it only has 220 calories and 10g of fat, but I still would suggest going with the Chicken & Hummus Bistro Box over the Goat Cheese & Garden Veggies Bistro Box.

PANINIS & SANDWICHES
No – Egg Salad Sandwich, Roasted Tomato & Mozzarella Panini
Starbucks offers a variety of Paninis and Sandwiches. I would not highly suggest purchasing any of these choices unless you really are in need of some more filling food. The Paninis and Sandwiches range from 340-460 calories, 10-27g of fat, 630-1140mg of sodium, 35-47g of carbs, and 15-33g of protein. The choices I would strongly stay away from would be the Egg Salad Sandwich and the Roasted Tomato & Mozzarella Panini. The Egg Salad Sandwich has 460 calories, 240 of which are from fat (27g of fat) and 22g of protein and the Roasted Tomato & Mozzarella Panini is 390 calories, 160 of which are from fat (18g of fat) and 15g of protein. All of the other sandwich choices are a little more reasonable with less fat content and higher amounts of protein.

Marshmallow Dream Bar

ALL DAY SNACKS/BAKED GOODS
None except the Marshmallow Dream Bar if you need a treat.
Starbucks offers many different Loaves, Coffee Cakes, brownies, Cookies, Cake Pops, and Bars. Now although these may be tempting, you have to realize that none of these choices are actually good for you. It would be much better to get real food with high nutritional value than a Double Chocolate Brownie with 24g of fat. Even a Birthday Cake Pop, which literally can be eaten in one big bite has 170 calories, 9g of fat, 22g of carbs, and 18g of sugar. Is that worth it?
Now some of you may be saying, “But Starbucks has Reduced-Fat Options!” Now this may be true, but the Reduced-Fat Banana Chocolate Chip Coffee Cake, Very Berry Coffee Cake, and Cinnamon Swirl Coffee Cake still have 8-10g of fat, 59-80g of carbs, and 31-50g of sugar. With that said, I personally don’t think these options are worth it because the nutritional value just does not weigh out the flaws.
The one treat I do say it is ok to have, on a VERY RARE occasion, would be the Marshmallow Dream Bar. Why? The Marshmallow Dream bar does not have much nutritional value at all, but it also has the least detrimental effects as well. The Dream Bar only has 210 calories, 4g of fat, 43g of carbs, and 15g of sugar. If you MUST get a treat, go with this choice above all the backed goods.

Hope you find this post helpful for the next time you need to eat at Starbucks! Any questions or concerns? Email me at corestrengthalec@gmail.com

Reverse Crunch

For this blog, I like steering away from conventional situps and crunches because those are exercises I have done for years and almost everybody has tried a basic situp or crunch. Although they definitely still help strengthen your core, I would like to give you some workouts that you may not have seen or tried before to help amp up your core workout routine.

This following exercise is a Reverse Crunch. It targets your core very well and when done correctly you can really feel the squeeze in your abdominals.

Reverse Crunch -  Position 1

Reverse Crunch – Position 1


Reverse Crunch -  Position 2

Reverse Crunch – Position 2


To perform a Reverse Crunch:

    1. Lie flat on your back with your hands at your sides.
    2. Raise your knees to create a 90 degree angle at your hips and at your knees, leaving your feet parallel to the ground (You are now in Position 1 as shown in the first picture to the left).
    3. Pull your knees in towards your chest.
    4. While in motion of bringing your knees to your chest, roll your pelvis back and raise your hips up off the floor, creating a curve in your spine (You are now in Position 2 as shown in the second picture to the left).
    5. Hold Position 2 for a second and squeeze your abdominals.
    6. Slowly lower your legs and pelvis back down to Position 1.
    7. Repeat the exercise for the recommended amount of reps (I usually do 3-5 sets of 25 reps).


Tips:

    1. Controlled motions are needed for this exercise. Do not depend on momentum to get our legs up and down. Engaging your lower abdominals to raise your legs and activating your entire core to perform slow controlled motions is how you will see and feel results.
    2. BREATHE!!! Your breath during this exercise will help activate your muscles. Make sure to exhale while bringing your legs up into your chest, and inhale when returning your legs back down to Position 1.
    3. Make sure to squeeze your abdominals when you hit the peak of Position 2. You should feel a burn in your core.
    4. If you are performing this exercise on a mat, do not hold the edge of the mat. Leave your hands flat on the ground, that way you will have to depend strictly on your abdominals to perform this exercise.

I hope you like this new exercise. Let me know what you think. If you have any questions or concerns, email me at corestrengthalec@gmail.com

Forming Healthy Diet Habits and My Diet Challenge

Alec Gym Post 2
As I have said in previous posts, diets SUCK! I still wish I could eat whatever I wanted and still be as healthy and fit as possible, but unfortunately that is not how the world works. I have learned through experience; however, that diets can also be a lot better than you think… It really comes down to how your prepare yourself for your diet.

How many of you have tried starting a diet, and then eventually given up? I will admit that I have… numerous times. I have talked to countless people who have started crash diets and put in a ton of effort to eat well and exercise regularly, but most of these people end up reverting back to their old ways. My big question is WHY? We know we want to look and feel better; we are willing to put in the effort; we are even able to stay on a pretty strict diet for some time. Why then do so many people end up reverting back to their old eating habits?

I got to thinking, and although this is totally based on my personal experience, views and observations, I ask you to just be open minded and dare you to try what I am about to suggest. I believe people don’t succeed on crash diets, because although they want to lead a healthy lifestyle, they jumped right into a diet with little to no preparation. Your body and mind sometimes need to warm-up to an idea in order to really make it work and become a habit. For example, if you had never been swimming before, why would you jump into the deep end of the pool and hope for the best? Surely, many people would come close to drowning. This is the same for diets. If you are so used to eating one way, and all of a sudden change everything you are doing, your body and mind are honestly not ready for the change, leaving you with uncontrollable cravings and needs.
Think about the last diet and exercise plan you tried. Is this what happened to you?

Right now, after about 2 years of constantly working on improving my diet and exercise routine, I can say that I have formed some strong views and habits that have helped shape a healthier lifestyle. Before I started really working on creating this lifestyle, I would go to the gym, maybe twice a week, if that, and I would honestly eat anything I wanted (I would eat fast food and unhealthy foods at restaurants all the time). Now, if I don’t work out for more than 2 days, my body literally feels sluggish and almost sickly and although I hardly ever even want to go near a fast food place anymore, if I even attempt to eat fast food, my stomach almost immediately rejects it. How have I been able to create such habits while I see other people stopping in my local Wendy’s every day?

Donuts

After doing some research of how to form habits, I tried to determine on how long it actually takes to create a lasting habit such as eating healthy. Although some researchers say 21 days is all you need, most psychologists cannot actually put a number on how long it takes. They all seem to agree that different habits obviously take different amounts of time to form. From what I read, I concluded that the smaller the change from someone’s current lifestyle, the less time it takes to actually become a habit that the person will eventually not have to intentionally think about doing. A small change in someone’s lifestyle, such as drinking one more glass of water a day, can take two-three weeks to become a habit. A much larger change in someone’s life, such as going to the gym five days a week, can take hundreds of days to actually become a habit.

After realizing this, I remembered the first diet I ever tried that actually worked for me, that I still unintentionally follow today. It worked because it was a small change from what I was already doing, which made it easy for my body to adapt and form a long lasting habit. I made this little diet up myself in my head one day, but it has helped train my mind and my body to really create healthier eating habits and also prepare me for future diets I was going to try.

HERE IS MY DIET CHALLENGE (aka the first diet that worked for me):
Pick one food that you eat regularly (at least twice a month), that you know is bad for you, that you could live without. Some examples of foods would be french fries, pizza, ice cream, bacon, cake, etc. For me, it was doughnuts. Now totally delete this one food from your diet. I am only asking you to pick ONE food. Whenever you are tempted to eat this food now, just simply say no, or replace it with something much healthier. That’s it! I know it sounds so stupid and easy, but trust me, it will help you in the long run with making healthier choices and help you adapt to other diets in the future. To put it into perspective, I used to eat about 2 Chocolate Frosted Doughnuts from Dunkin Donuts a week . I liked eating them, obviously, but I realized I ate them usually out of convenience rather than out of a craving I was having or out of a need. Without eating these 2 doughnuts each week, I saved myself 540 calories and 30g of fat (14g of saturated fat) per week… that’s 28,080 calories and 1,560g of fat (728g of saturated fat) a year. To burn that off, I would have to run for about 35 hours… and I hate running :(. From this diet, I have not had one doughnut for over four years, and now I honestly have no cravings or wants to even try a doughnut again. Right now I am attempting this diet with waffles, and so far, I have gone almost three weeks without eating one waffle, which has saved me bad calories, fat, and a lot of carbs.

So now, I challenge you to try this easy diet out. It is easy! All I am asking you to do is pick one food that you can live without. If you can make it through one month without having this food in your diet, you should be able to start forming healthier habits. NO CHEATING!!!

What are your thoughts on this post? Are you going to try my challenge? Let me know by emailing me at corestrengthalec@gmail.com

Leg Lifts (Level 2 & Level 3)

The following exercises are the Level 2 and Level 3 versions of the Leg Lifts I posted the other day. Although very similar to the Level 1 version, the Level 2 and Level 3 Leg Lifts are harder to perform. The only difference between the exercises is where you place your hands, but you will realize that the placement of your hands can strongly affect the impact of the exercise.

Leg Lift (Level 2) - Position 1

Leg Lift (Level 2) – Position 1


Leg Lift (Level 2) - Position 2

Leg Lift (Level 2) – Position 2

To Perform a Level 2 Leg Lift:

    1. Lie flat on the ground with your feet together.
    2. Place both hands flat on the ground at your sides (Make sure to keep your back flat on the ground).
    3. Raise your feet 4-6 inches off the ground (Now you are in Position 1 as shown in the first picture pn the left).
    4. With your feet together and legs as straight as possible, lift your legs up to create a 90 degree angle with the floor (You are now in Position 2 as shown in the second picture on the left).
    5. Lower your legs back down to Position 1 with your feet a few inches above the floor.
    6. Raise and lower your legs between Position 1 and Position 2 for the recommended amount of reps (I do 3 sets of 25 reps).


Leg Lift (Level 3) - Position 1

Leg Lift (Level 3) – Position 1


Leg Lift (Level 3) - Position 2

Leg Lift (Level 3) – Position 2

To Perform a Level 3 Leg Lift:

    1. Lie flat on the ground with your feet together.
    2. Raise your arms above your head extending to the wall behind you.
    3. Raise your feet 4-6 inches off the ground (Now you are in Position 1 as shown in the first picture on the right).
    4. With your feet together and legs as straight as possible, lift your legs up to create a 90 degree angle with the floor (You are now in Position 2 as shown in the second picture on the right).
    5. Lower your legs back down to Position 1 with your feet a few inches above the floor.
    6. Raise and lower your legs between Position 1 and Position 2 for the recommended amount of reps (I do 3 sets of 25 reps with this variation as well).


Tips:

    1. You must keep your back flat on the floor during both of these exercise. Form is the most important aspect of these exercises, and if you are not able to perform this exercise, please try doing Level 1 Leg Lifts first to help strengthen your core and prepare yourself for these more advanced variations.
    2. Exhale while lowering your legs from Position 2 to Position 1. This will help activate the correct muscles
    3. CONTROL CONTROL CONTROL!!!! All motions must be as controlled as possible. Fast sloppy motions will not make this exercise affective.
    4. To increase core strength, hold your legs in Position 1 with your feet a few inches off the floor for a second before raising your legs to Position 2.
    5. Specifically for Level 3 Leg Lifts, keeping your hands above your head will assist in stretching out your core giving your abdominals a nice extensive workout.

Hope you find these two new variations helpful. Have any questions or concerns? Email me at corestrengthalec@gmail.com