4 Traits of a Great Workout

Photo By Jason Jaskot

Photo By Jason Jaskot


I have been weightlifting for about 4 years now, but I have been active my entire life. I have been to numerous types of exercise classes, I’ve tried different workout regimes, and I’ve even made up my own. Through trial and error and seeing which plans make me feel the best and also show results, I have put together the 4 attributes that I think every workout should have. I like to call these traits the 4 S’s.

The 4 S’s are Stretch, Stamina, Stability, and Strength.
1. Stretch – It is important to start and end with a good stretch during your workout. Yes, stretching can sometimes feel tedious and annoying, but there are so many benefits to stretching that should not be over looked. Stretching not only improves your flexibility and mobility, but it can greatly reduce your risk of injury, and also even support faster and stronger muscle growth. When stretching you are getting more oxygen and blood flow to your muscles, therefore providing your muscles with more nutrients to repair and grow.
2. Stamina – It’s time to get your heart rate up. Cardio has endless amount of benefits no matter what your fitness level may be. Cardio burns calories for weight loss, strengthens your heart, helps reduce the risk of heart attack, high blood pressure, and high cholesterol, it helps you reduce stress, promotes sleep better, etc….
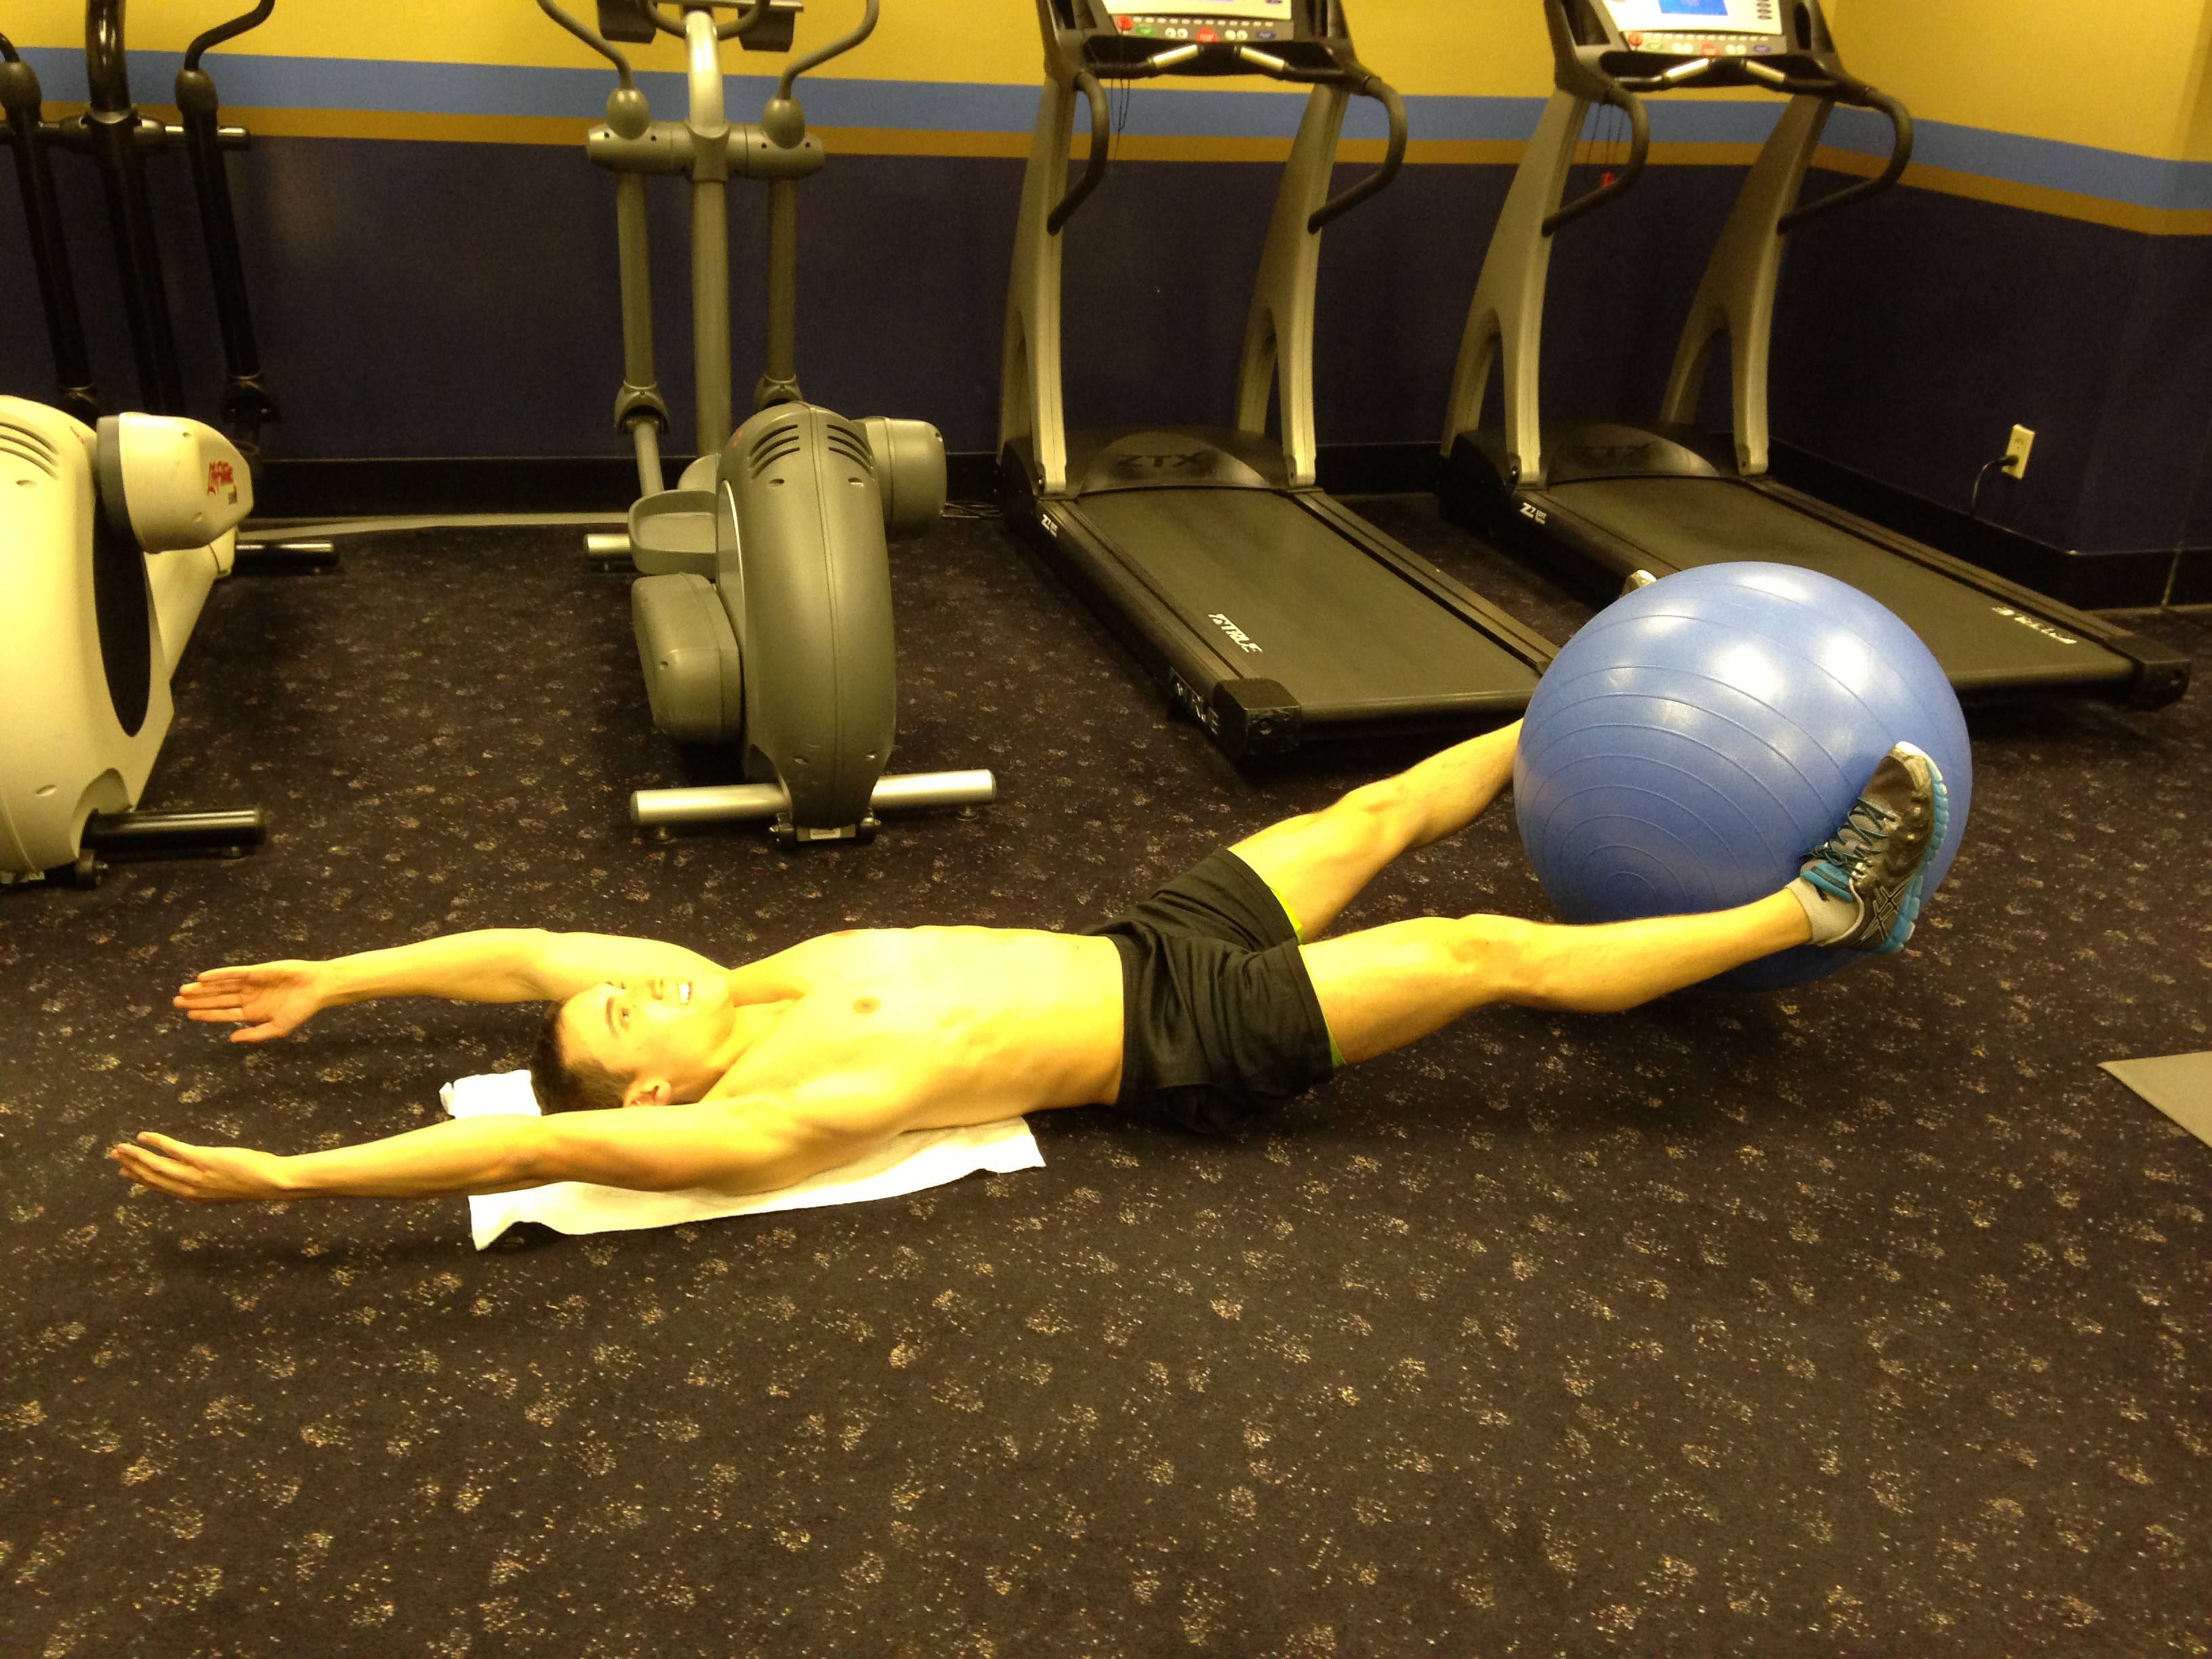
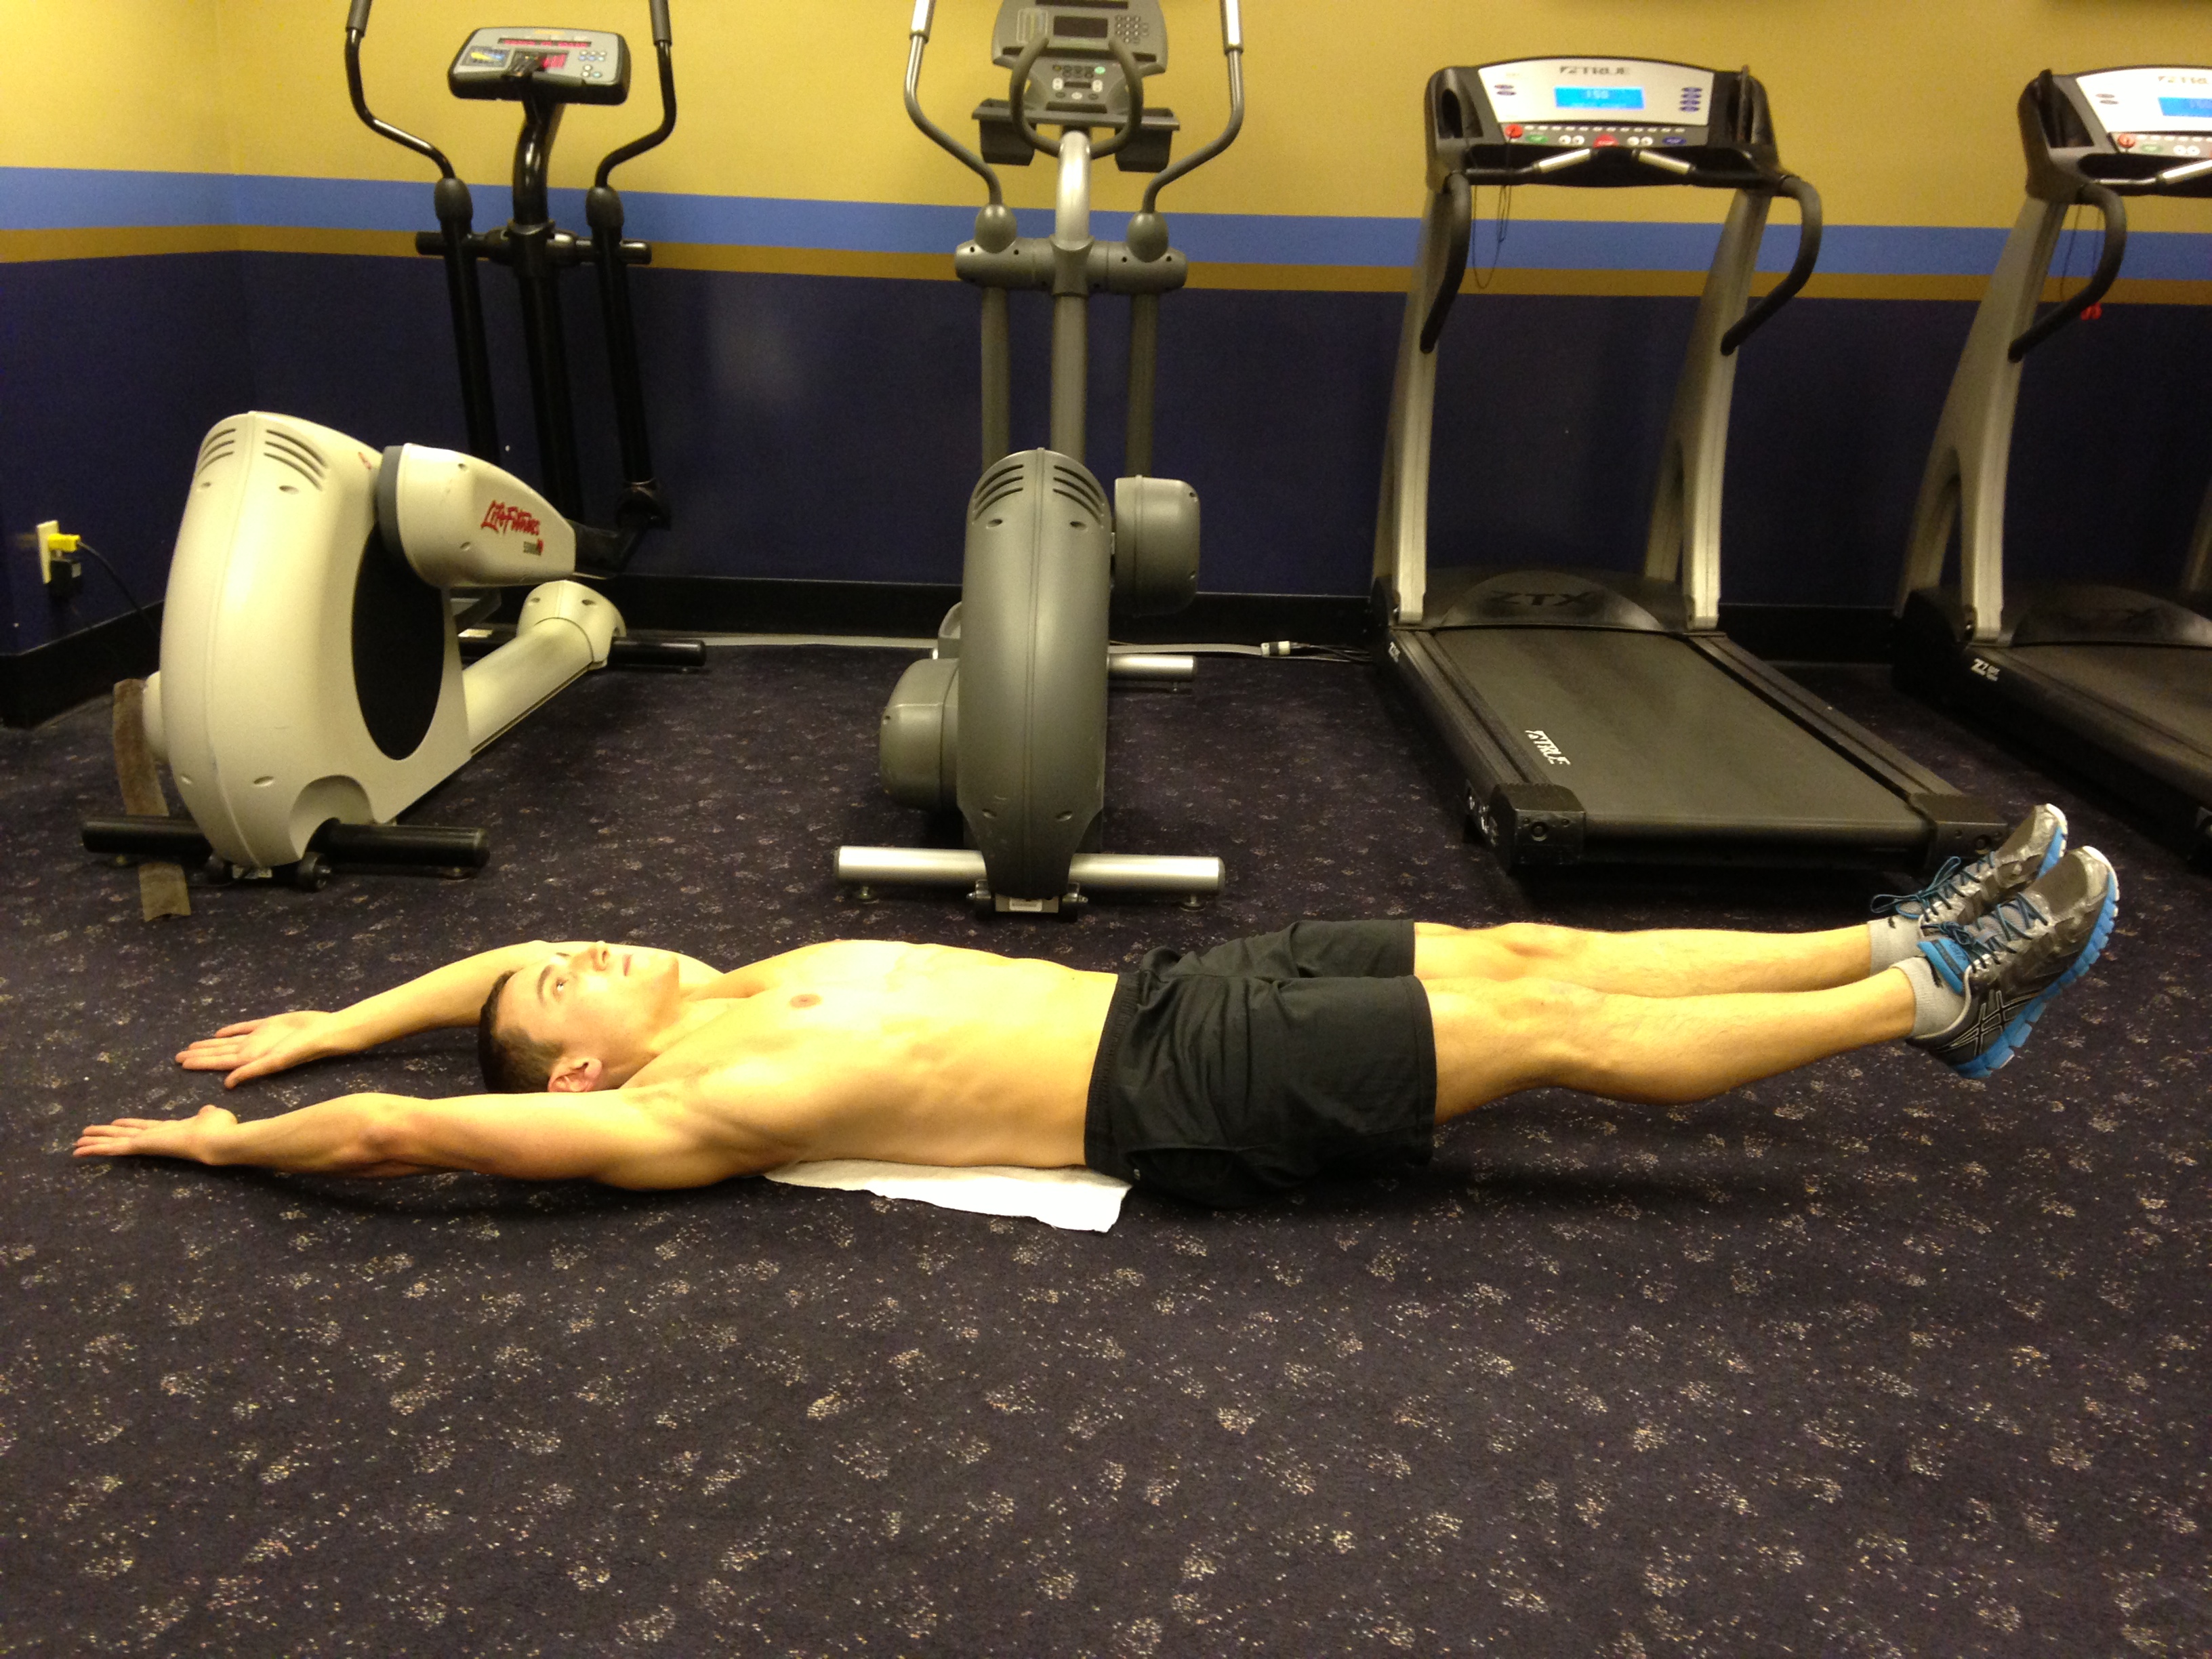
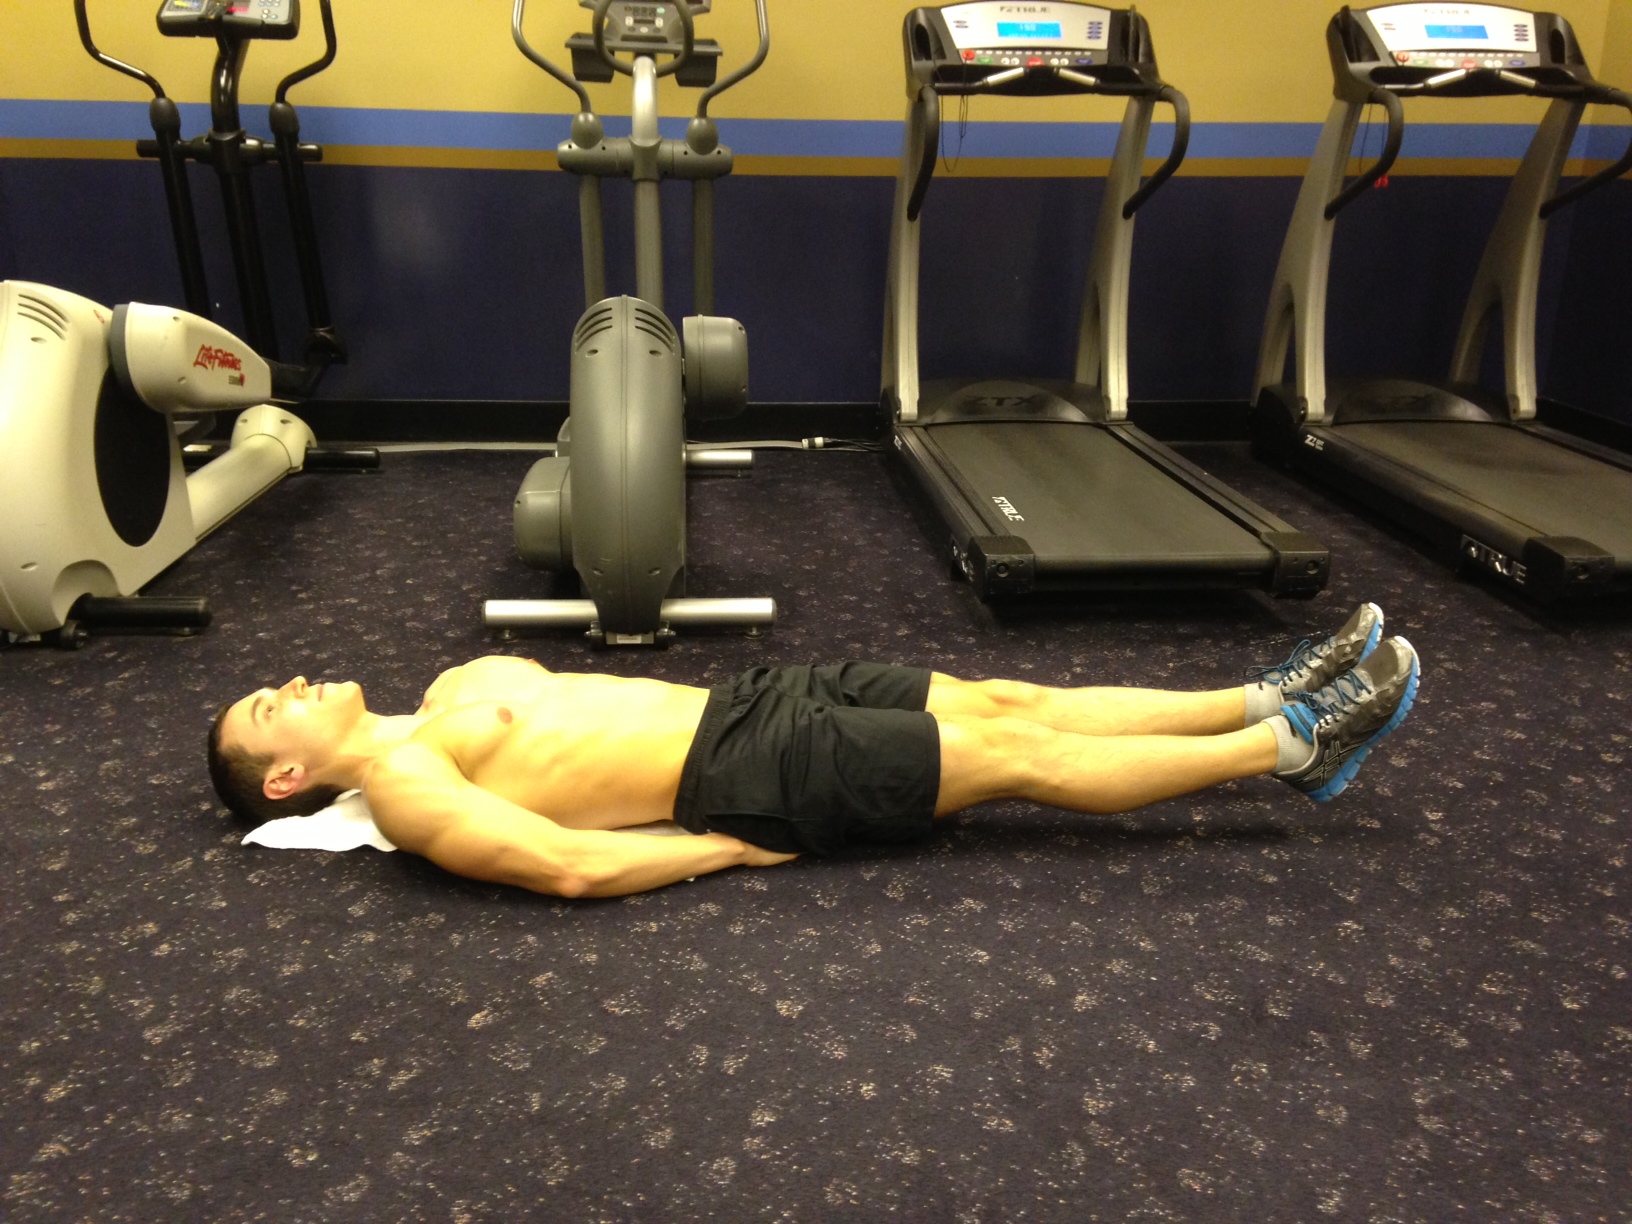
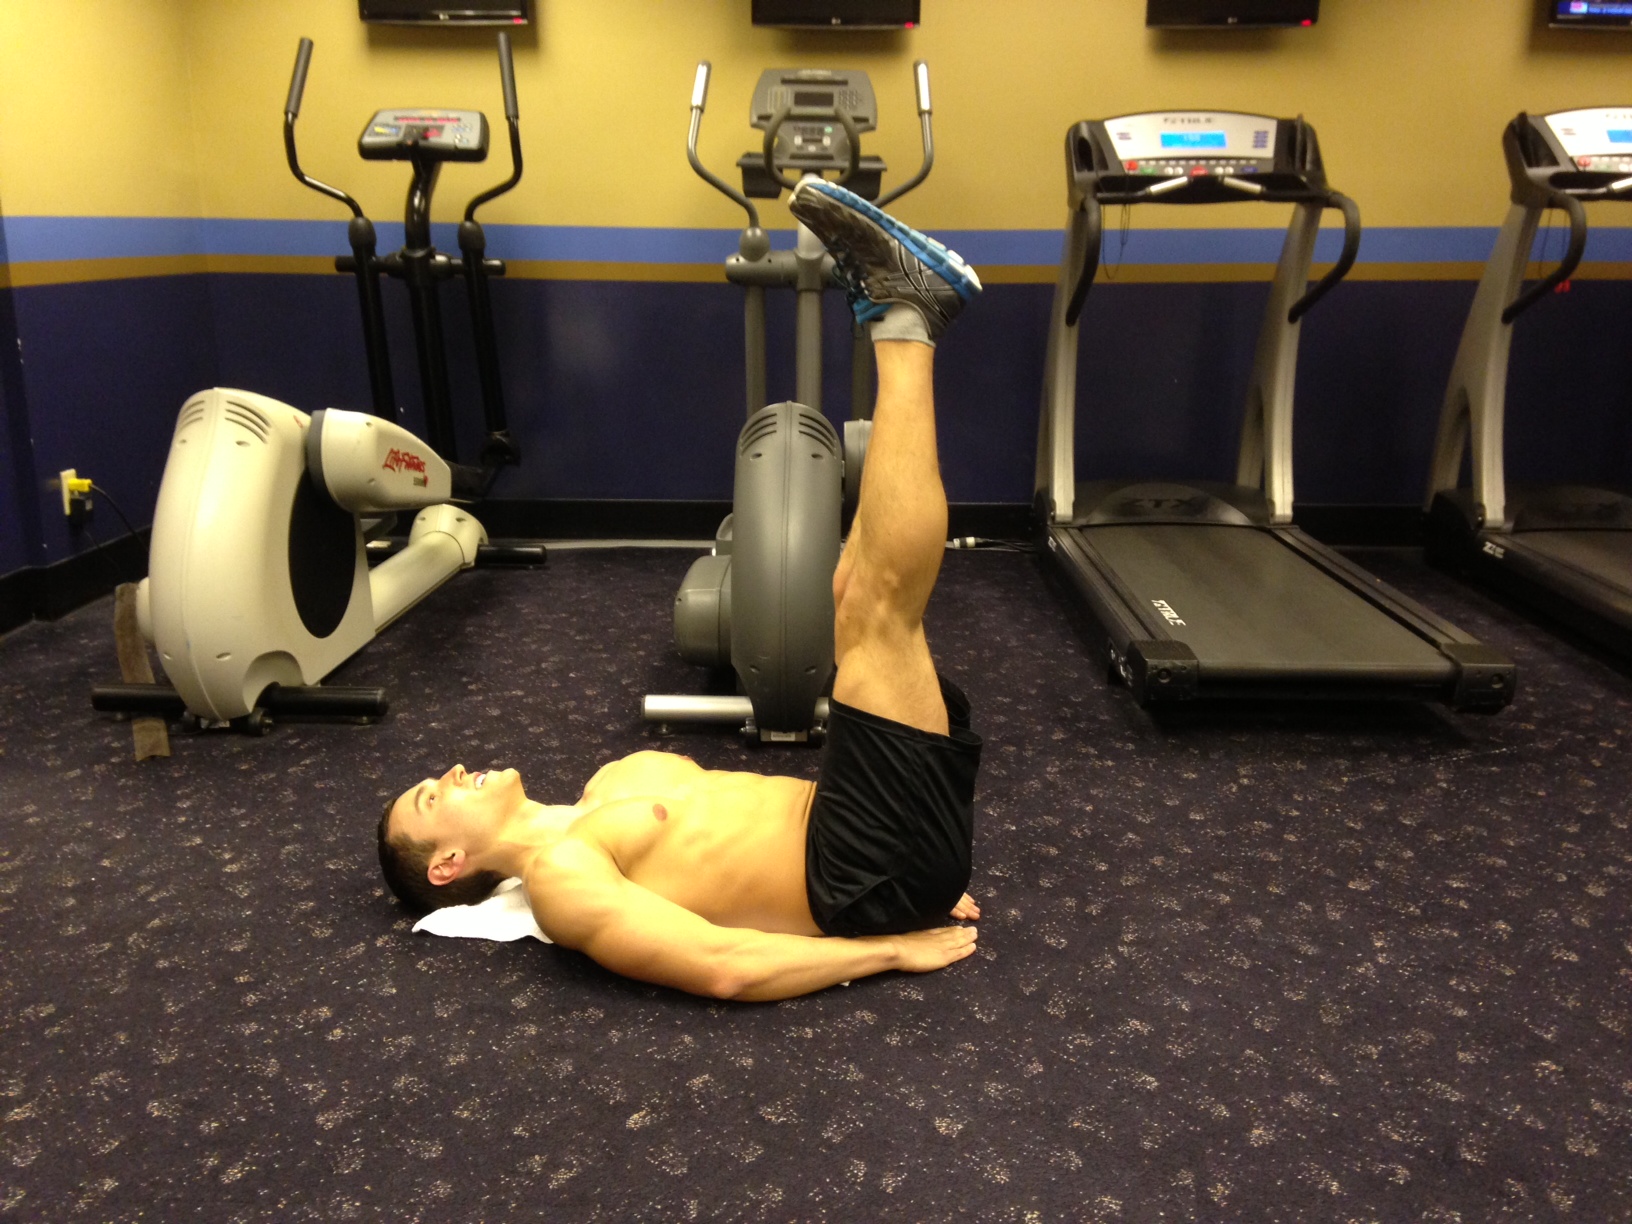
3. Stability – This is the one that I think many people forget to add into their workouts. Unless you are taking a Yoga or Pilates class, many workouts don’t incorporate stability into the regimen. Practicing your balance and stability will lead to fewer injuries, better posture, and improvement in your coordination and athletic skills.
4. Strength – This one is pretty self explanatory, but still can be forgotten, especially by people who are mostly just focusing on weight loss. It is very common to see people on the treadmill for an hour and then just leave the gym. Although they may be loosing weight, its usually is not in the areas they want to loose it in. I frequently get approached by people asking me how they get rid of their “belly fat” or “arm flab.” What I tell people who want to loose weight is that cardio and diet is obviously important, but strength training is your way of focusing on the exact body parts you want to improve on.

Examples of exercises for each aspect of the 4 S’s
Stretch – Arm Circles, Elbow Circles, Touch Your Toes, Lunges, Straddle, Splits
Stamina – Walking on an Incline, Running, Swimming, Stair Master, HIIT Workout
Stability – Planks, Holds, Handstands, Balance Drills, Yoga, Pilates
Strength – Weightlifting such as Bicep Curls, Tricep Extensions, Chest Press, Deadlifts, and Squats.

Try adding these aspects to your workout routines and let me know what you think. Contact me at corestrengthalec@gmail.com with questions, comments, or ideas for new topics.

Raised L-Sits

Are you ready for another great stabilization exercise? L-sits are one of my favorite core strengthening exercises to perform because you can engage your entire core with one simple move. L-sits are a great exercise to add to any workout plan, and no matter what your fitness level, there is always room for growth and improvement with this exercise.

Raised L Sit

How to do Raised L Sits:
1. Grab two bars or stable surfaces of equal height and set them about 1 to 2 feet apart from each other. (The distance apart depends on the comfort of each person individually)
2. Place one hand on each surface and squat down to prepare for the exercise.
3. With your arms straight, raise your legs up off the floor in front of you.
4. Straighten your legs so they are now parallel to the floor.
5. Hold this position for as long as you can and then lower your legs back to the floor.
6. Repeat this exercise for the allotted amount of sets.

TIPS:
1. Track your progress with L-sits. The first time you try this exercise, you may only be able to hold this position for a few seconds, but after only a few weeks, you will see a huge difference in what you can do. Seeing your time increase will help motivate you to keep pushing your limits.
2. Keep your chest open and up. Keep your back straight and do not hunch when doing this exercise. Hunching will activate the wrong muscles and may even cause muscle strain.
3. Breathe. Like most stabilization exercises, it is common for people to hold their breath. I am sometimes guilty of this too, but holding your breath will cause unnecessary tension throughout your entire body which will actually make this exercise harder.
4. Look straight ahead! Try not to look down at the floor or at your legs, and don’t lift your head up. Pick something straight in front of you to focus on.
5. Your toes can be flexed or pointed during this exercise, but choose one. You want to really activate your legs and keep them straight and tight in this workout. If you let your feet just dangle, you will not be fully engaging your legs in this exercise.
6. If you do not have bars for this exercise, you can use two platforms, chairs, or even stacks of books.
7. My goal for this exercise is usually to hold the L-sit from 30-60 seconds and I do about 5 sets. If I do them right in a row, I try to take about a one minute break in between each set.

Have you ever tried Raised L-sits? Let me know what you think of this exercise and let me know if you have any other questions or comments by emailing me at corestrengthalec@gmail.com.

Leg Lifts with Alternating Stability Ball

I obviously like to use the stability ball in many of my core exercises and this exercise is no different. I like to do this exercise almost every time I do a core workout! I can feel it really working and strengthening my entire core from my upper abs, to my lower abs, obliques, and even lower back! Similar to the regular leg lift exercise with the stability ball I posted a few days ago, this exercise adds more difficulty to the standard leg lift exercise and really helps tone the “V” cut in your lower ab/hip region.

Leg Lift (w. alt. stability ball) - Position 1

Leg Lift (w. alt. stability ball) – Position 1


Leg Lift (w. alt. stability ball) - Position 2

Leg Lift (w. alt. stability ball) – Position 2


Leg Lift (w. alt. stability ball) - Position 3

Leg Lift (w. alt. stability ball) – Position 3


Leg Lift (w. alt. stability ball) - Position 4

Leg Lift (w. alt. stability ball) – Position 4

To Perform a Leg Lift with Alternating Stability Ball:

    1. Lie flat on the ground with a stability ball between your feet.
    2. Extend both arms straight back behind your head.
    3. With the stability ball between your feet, raise the stability ball a few inches off the ground (Now you are in Position 1 as shown in the first picture to the right).
    4. While still squeezing the stability ball between your feet, lift your legs up so the stability ball is above your lower torso and lift your arms to touch and grab the stability ball (You are now in Position 2 as shown in the second picture to the right).
    5. Grab the stability ball with your hands, and let go of the stability ball with your feet.
    6. Bring the stability ball back behind your head so that it is a few inches off the floor while lowering your legs back down, leaving your feet a few inches off the floor. (This is Position 3, shown in the third picture to the right).
    6. While still holding the stability ball in your hands, raise the ball back up over your toso and raise your legs straight up to wrap around the sides of the stability ball (You are now in Position 4 as shown in the fourth picture to the right).
    7. Switch your grip of the stability ball from your hands to your feet.
    8. While squeezing the stability ball between your feet, lower your legs back down having the stability ball only a few inches off the floor and lower your arms back behind your head. (You have now returned back to Position 1)
    9. Repeat the exercise for the recommended amount of reps (I usually do three sets of 15 reps).


Tips:

    1. When lowering your legs, both with and without the stability ball, it is important to activate your core and keep your back flat on the ground. Try not to create any sort of arch in your back during this exercise
    2. Try to make this exercise one fluid motion; don’t do each position one at a time. Instead, flow through the motions and make them nice and controlled.
    3. Exhale while lowering your legs down toward the floor.
    4. If you have never tried this exercise before, first try doing the exercise without the stability ball. If you can comfortably perform the exercise, then add the stability ball into your workout.
    5. Start with 8-10 reps of this exercise and work on reaching more reps as your core becomes stronger.
    6. To increase the intensity of this workout, you can also wear ankle/wrist weights for increased resistance.
    Hope you enjoy this exercise as much as I do. Let me know if you end up using it in your core workout routine. Have any questions or concerns? Email me at corestrengthalec@gmail.com

Leg Lifts with Stability Ball

Leg Lift (w. stability ball) - Position 1

Leg Lift w. stability ball – Position 1

This is another variation of a leg lift that I personally love doing in tandem with the Reverse Crunch exercise with the Stability ball (Click Here to see the Reverse Crunch stability ball exercise). Using the stability ball adds some resistance to the traditional leg lift which will activate your core muscles and your hips flexors. This exercise specifically helps target your lower abs and help create that “V” cut in your lower ab/hip region.

To Perform a Leg Lift with a Stability Ball:

    1. Lie flat on the ground with a stability ball between your feet.
    2. Place both hand at your sides (Make sure to keep your back flat on the ground).
    3. While squeezing the stability ball between your feet, raise the stability ball a few inches off the ground (Now you are in Position 1 as shown in the picture above).
    4. While still squeezing the stability ball between your feet, lift your legs up to create a 90 degree angle with the floor (You are now in Position 2 as shown in the picture below).
    5. Lower your legs back down to Position 1 with the stability ball a few inches off the ground.
    6. Raise and lower your legs between Position 1 and Position 2 for the recommended amount of reps (I do 3 sets of 15 reps).
Leg Lift w. stability ball - Position 2

Leg Lift w. stability ball – Position 2

Tips:

    1. As I said earlier, this is an exercise I like to do an tandem with the Reverse Crunch stability ball exercise. I usually do 25 reps of the reverse crunch exercise straight into 15 reps of the leg lift exercise, both using the stability ball. This gives my core a nice burn!
    2. Keep your back flat on the floor during this entire exercise. It is common to want to lift your lower back off the floor, but in order to target your core muscles to their fullest potential, your traps all the way down to your tailbone should be on the floor.
    3. Exhale while lowering your legs from Position 2 to Position 1 to activate your abdominals.
    4. You must use controlled motions during this exercise! Focus on using your core muscles to lift the stability ball.
    5. Try holding your legs in Position 1 for a second before raising your legs to Position 2. This will increase core strength and cause you to activate your core muscles affectively.
    6. If you are just beginning this exercise, first try doing Level 1 leg lifts. If you can comfortably perform level 1 leg lifts, move on to try level 2 and level 3 leg lifts. If you can perform those exercises, then move on to this exercise with the stability ball. This exercise is definitely harder than the other variations of leg lifts so start with 8-10 reps of this exercise and work on reaching more reps as your core becomes stronger.

Hope you enjoy this exercise as much as I do. Let me know if you end up using it in your core workout routine. Have any questions or concerns? Email me at corestrengthalec@gmail.com

Leg Lifts (Level 2 & Level 3)

The following exercises are the Level 2 and Level 3 versions of the Leg Lifts I posted the other day. Although very similar to the Level 1 version, the Level 2 and Level 3 Leg Lifts are harder to perform. The only difference between the exercises is where you place your hands, but you will realize that the placement of your hands can strongly affect the impact of the exercise.

Leg Lift (Level 2) - Position 1

Leg Lift (Level 2) – Position 1


Leg Lift (Level 2) - Position 2

Leg Lift (Level 2) – Position 2

To Perform a Level 2 Leg Lift:

    1. Lie flat on the ground with your feet together.
    2. Place both hands flat on the ground at your sides (Make sure to keep your back flat on the ground).
    3. Raise your feet 4-6 inches off the ground (Now you are in Position 1 as shown in the first picture pn the left).
    4. With your feet together and legs as straight as possible, lift your legs up to create a 90 degree angle with the floor (You are now in Position 2 as shown in the second picture on the left).
    5. Lower your legs back down to Position 1 with your feet a few inches above the floor.
    6. Raise and lower your legs between Position 1 and Position 2 for the recommended amount of reps (I do 3 sets of 25 reps).


Leg Lift (Level 3) - Position 1

Leg Lift (Level 3) – Position 1


Leg Lift (Level 3) - Position 2

Leg Lift (Level 3) – Position 2

To Perform a Level 3 Leg Lift:

    1. Lie flat on the ground with your feet together.
    2. Raise your arms above your head extending to the wall behind you.
    3. Raise your feet 4-6 inches off the ground (Now you are in Position 1 as shown in the first picture on the right).
    4. With your feet together and legs as straight as possible, lift your legs up to create a 90 degree angle with the floor (You are now in Position 2 as shown in the second picture on the right).
    5. Lower your legs back down to Position 1 with your feet a few inches above the floor.
    6. Raise and lower your legs between Position 1 and Position 2 for the recommended amount of reps (I do 3 sets of 25 reps with this variation as well).


Tips:

    1. You must keep your back flat on the floor during both of these exercise. Form is the most important aspect of these exercises, and if you are not able to perform this exercise, please try doing Level 1 Leg Lifts first to help strengthen your core and prepare yourself for these more advanced variations.
    2. Exhale while lowering your legs from Position 2 to Position 1. This will help activate the correct muscles
    3. CONTROL CONTROL CONTROL!!!! All motions must be as controlled as possible. Fast sloppy motions will not make this exercise affective.
    4. To increase core strength, hold your legs in Position 1 with your feet a few inches off the floor for a second before raising your legs to Position 2.
    5. Specifically for Level 3 Leg Lifts, keeping your hands above your head will assist in stretching out your core giving your abdominals a nice extensive workout.

Hope you find these two new variations helpful. Have any questions or concerns? Email me at corestrengthalec@gmail.com

Leg Lifts (Level 1)

Leg Lift (Level 1) - Position 1

Leg Lift (Level 1) – Position 1

This exercise is excellent for targeting your core, specifically your lower abs. There are many variations to this exercise, but today I will start with the Level 1 variation. Once the Level 1 Leg Lift is mastered, you can then try moving on to Level 2, then Level 3, and so on. I will post some of the other variations in my upcoming posts.

To Perform a Level 1 Leg Lift:

    1. Lie flat on the ground with your feet together.
    2. Place both hand under your glutes, right below your tail bone (Make sure to keep your back flat on the ground).
    3. Raise your feet 4-6 inches off the ground (Now you are in Position 1 as shown in the picture above).
    4. With your feet together and legs as straight as possible, lift your legs up to create a 90 degree angle with the floor (You are now in Position 2 as shown in the picture below).
    5. Lower your legs back down to Position 1 with your feet a few inches above the floor.
    6. Raise and lower your legs between Position 1 and Position 2 for the recommended amount of reps (I do 3 sets of 25 reps).
Leg Lift (Level 1) - Position 2

Leg Lift (Level 1) – Position 2

Tips:

    1. You must keep your back flat on the floor during this entire exercise. There should be no curve in your back. The top of your spine down to your tail bone should be flat on the floor at all times during this exercise.
    2. Exhale while lowering your legs from Position 2 to Position 1. Doing this will activate your abdominals.
    3. Use controlled motions! DO NOT whip your legs up and down as fast as you can. Using slow controlled motions will make this exercise much more affective.
    4. Try holding your legs in Position 1 with your feet a few inches off the floor for a second before raising your legs to Position 2. This will really burn your abdominals and will help increase your core strength.
    5. If you are just beginning, try doing 10-15 reps of this exercise at first and see if you can comfortably perform this exercise. It is important to really push yourself in order to see results, but safety always come first. If you have to start with only doing 10 reps of this exercise, make it a goal to add one more rep every few times you perform this exercise until you reach 20-25 reps per set.

Hope you enjoy this exercise and keep a lookout for the other variations soon to come. Have any questions or concerns? Email me at corestrengthalec@gmail.com

Raised Side Plank

RaisedSidePlank1
This is one of my favorite core strength exercises to perform. The Raised Side Plank is a core strength hold exercise that specifically targets your obliques, but really strengthens your entire core region (obliques, abs, lower back).

To perform this exercise:

    1. Find something to rest your feet on that is about a foot or two off the ground (I usually use a workout bench).
    2. Rest one foot on top of the other and rest your elbow and forearm on the ground.
    3. Lift your hips, core, and upper body off the ground so that they are parallel to the floor. Your upper arm to your shoulder should be perpendicular with the floor.
    4. Hold this position for 1 minute (or for beginners, start with 30 seconds and increase your time once your core becomes stronger).
    5. Repeat this exercise on the other side.

RaisedSidePlank2

Tips:

    1. Make sure the side of your body (obliques) is facing the floor and the front of your body is facing forward.
    2. Tighten you core, your obliques specifically, during the entire exercise
    3. Lift your hips up and keep them parallel to the floor. It is very easy to start drooping your hips to the floor. If they start to fall slightly, really squeeze your stomach muscles to try and raise them back up to maintain the straight body position.
    4. Form is more important than time! You will get better results from holding the correct position for 30 seconds than letting your body concave and turn incorrectly, holding the incorrect position for a longer time.

If you have any questions or concerns, please contact me at corestrengthalec@gmail.com