For any of my Crossfit readers, you know exactly who Cindy is. “Cindy” is a WOD (Workout of the Day) done in Crossfit gyms around the world. Cindy is a full body workout that consists of only body weight exercises. What is great about Cindy is that people of all different fitness levels can do this workout because every exercise can be easily modified.
CINDY – 20 minute AMRAP(as many reps as possible):
5 pull-ups
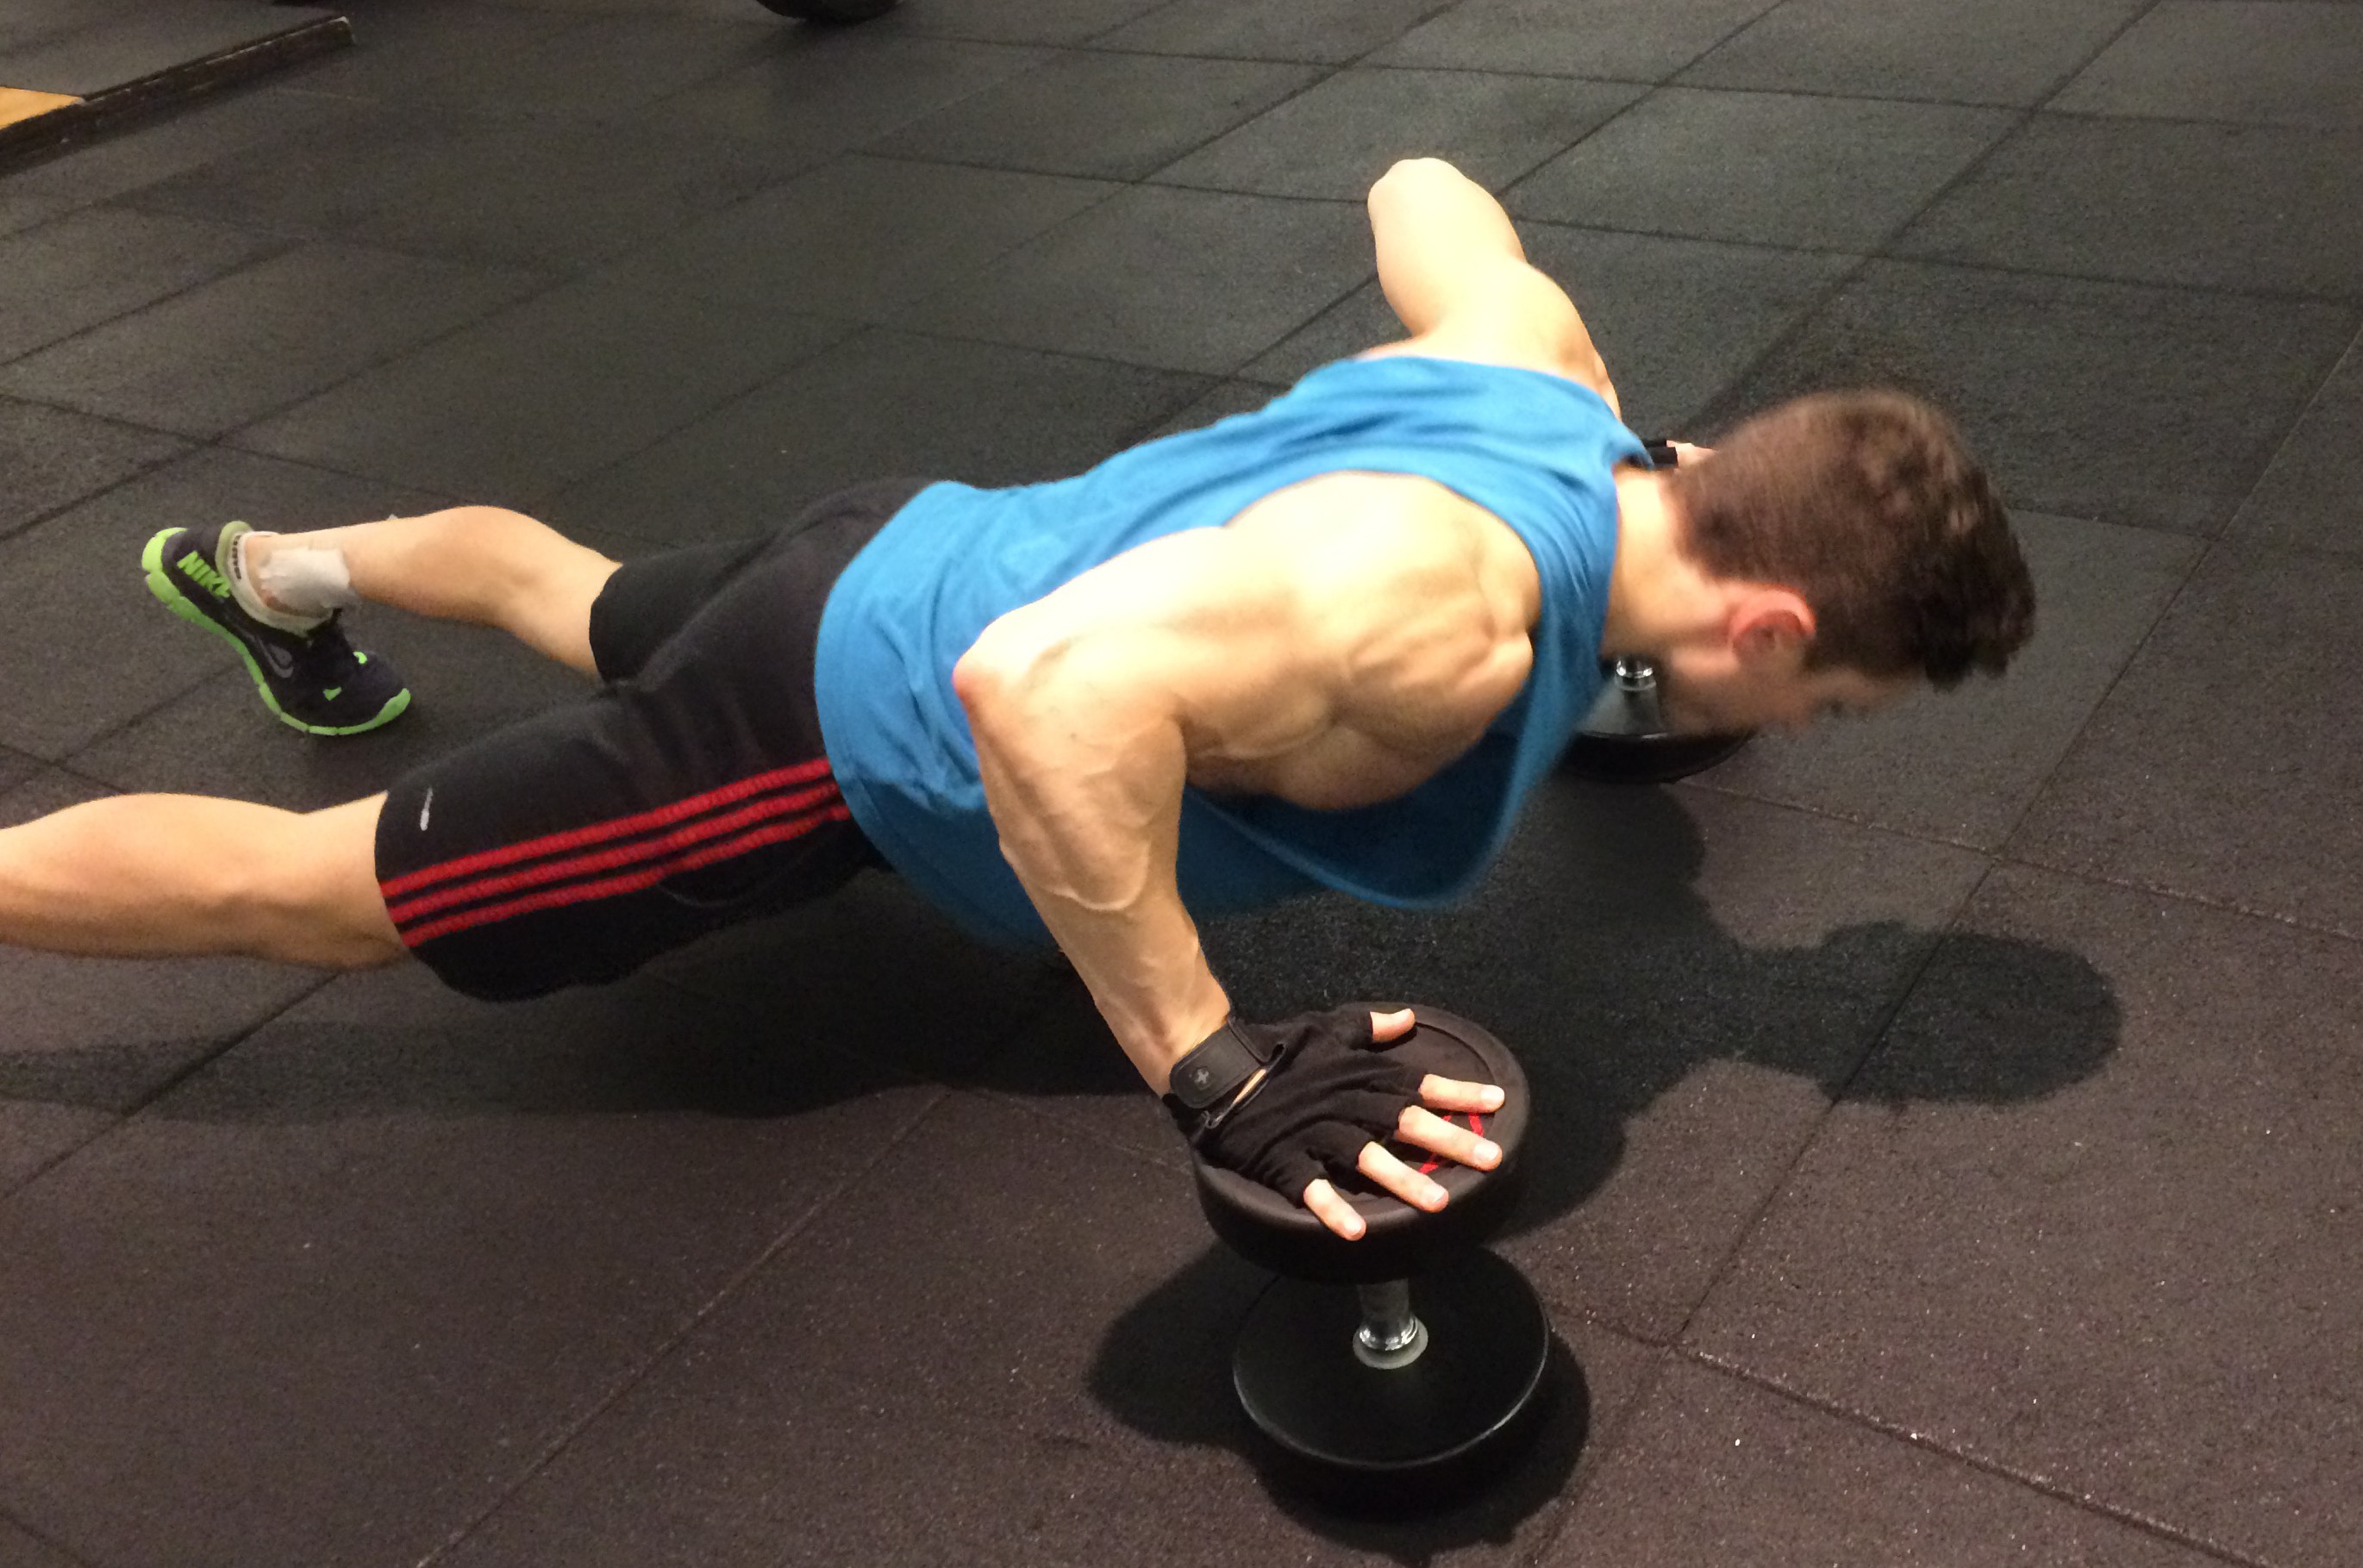
10 push-ups
15 air squats
For 20 minutes, you cycle the three workouts and see how many rounds you can get in. My last time trying CINDY I did 19 rounds plus 5 push-ups. This means I did 5 pull-ups, 10 push-ups, and 15 air squats 19 times in a row, and the time ran out after I did 5 more pull-ups and 5 push-ups.

In total I did 100 pull-ups, 195 push-ups, and 285 air squats in 20 minutes! Talk about a hard workout!
TIPS:
1. The pull-ups and push-ups can easily be modified depending on your fitness level. For beginners, a resistance band can be used over the bar to assist in the pull-up, or pull-ups can even be switched out for body weight rows using rings or a TRX. For the push-ups, they can be done on and incline instead of parallel to the floor, or they can be done on your knees.
2. This workout will really test your endurance and your heart rate will shoot up. If you have any heart or breathing conditions, consult a doctor first and don’t perform this workout unsupervised.
3. A dead hang pull-up will make this workout much harder 
on your arms and back. Try kipping the pull-up to relieve strain. You will be doing a lot of reps; dead hang pull-ups will cause you to fatigue quickly.
4. When doing air squats, keep your back straight and get your glutes as low to the ground as possible. Remember “Ass to Grass” when doing squats. Also push through your heels, not your toes.
4. CINDY is a perfect full body workout to perform when you are short on time. It combines cardio with muscle building and will make you sweat like you have never sweat before.
Have you ever friend CINDY? Do you have other WODs that you really like? Contact me at corestrengthalec@gmail.com with questions, comments, or ideas for new topics.